Avatar Hypertutorial: Difference between revisions
| Line 49: | Line 49: | ||
== Loading up and starting == | == Loading up and starting == | ||
First, prep blender. Install (latest is fine), then install development version of CATS | First, prep blender. Install (latest is fine), then install development version of CATS. This isn't super intuitive: | ||
# Go to https://github.com/absolute-quantum/cats-blender-plugin/tree/development and click "Code" at the middle upper right and 'download as zip'. This is how to get the development branch of CATS. It's not intuitive since there's download buttons everywhere else for the normal CATS release which hasnt been updated in 2 years. | |||
# Go to blender (I recommend https://www.blender.org/download/lts/3-3/ since it will stay the same for the longest time) and edit-preferences->addons and upload the zip. | |||
Better fbx importer/exporter is recommended but optional; you'll be fine without it in most cases. It's a paid addon so I cant link it here. | |||
Extracting the glaze I got this: | |||
[[File:Extracted.png|Files woah]] | [[File:Extracted.png|Files woah]] | ||
Revision as of 10:30, 5 September 2023
This page will link and describe an entire process of turning a booth avatar into a customised, fully kitted, and highly functional avatar.
tldr:
What you will need:
- Blender + CATS
- Better FBX importer recommended
- Unity Hub
- VRChat Creator Companion
<todo: Setup>
Note on videos: They're h265 mp4s that might not play in a browser; download them. Also I will not activate windows.
Finding a Booth
First, find a booth you want. There's plenty of choice:
- Go to Avatar Museum
- Ask around
- browse sites liek https://avatar-network.herokuapp.com/avatars/
- "site: booth.pm <booth name>" in google
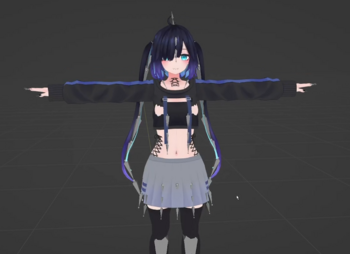
For this tutorial I had a general aesthetic I wanted, and that was 'goth gf'. So I look around for booths I can turn into that, and have a general aesthetic guiding process for changes to the booth.
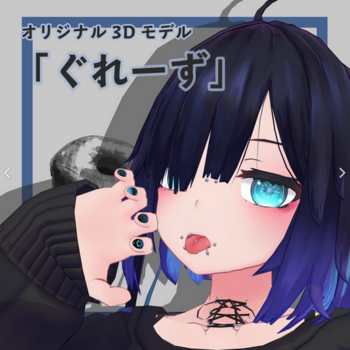
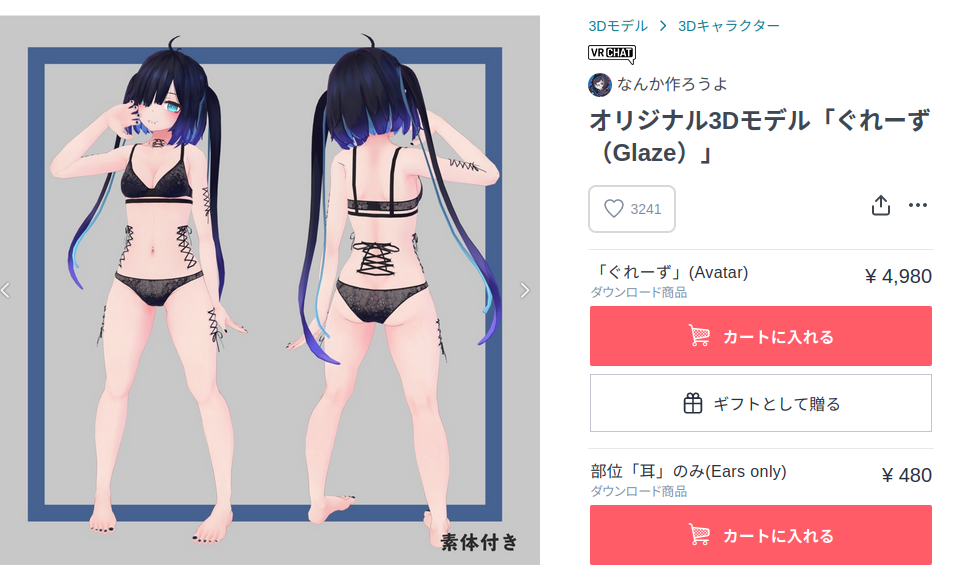
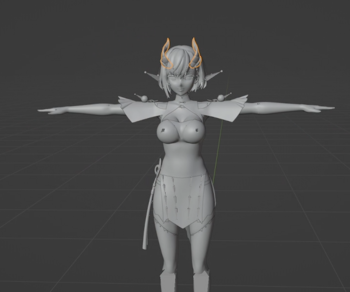
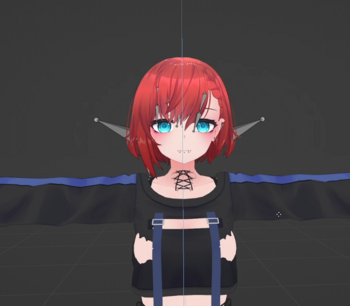
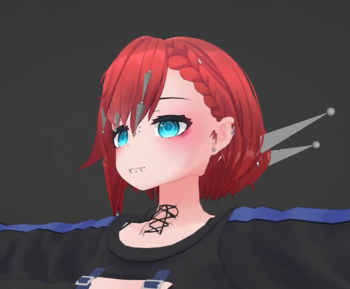
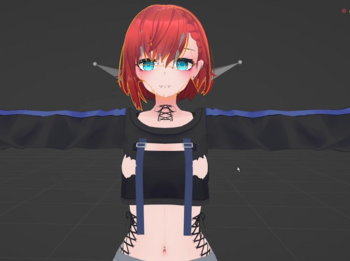
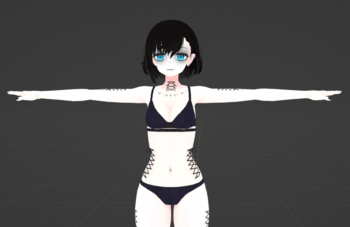
I chose 'Glaze': https://booth.pm/ja/items/2040115
Piercings, kinda close style. Will do some modifications to get it to goth mode.
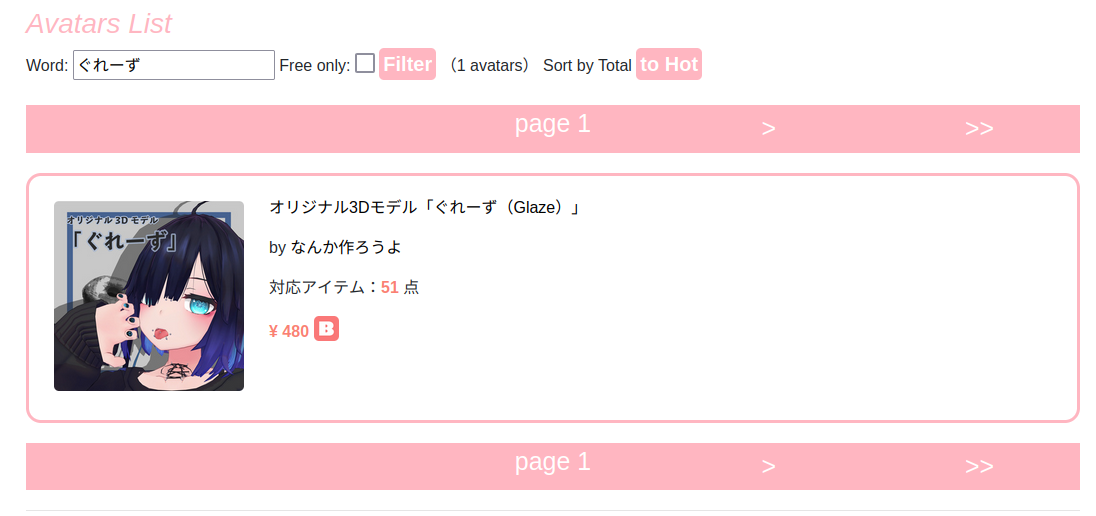
Then check what outfits are available with https://avatar-network.herokuapp.com/avatars/?word=glaze
No outfits. Great.
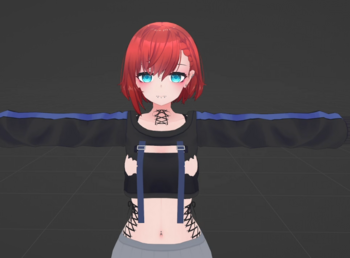
Primary modification recommended is a hairswap. Changes the profile of the booth a lot, unless it has a very distinctive face (which the glaze does but whatever)
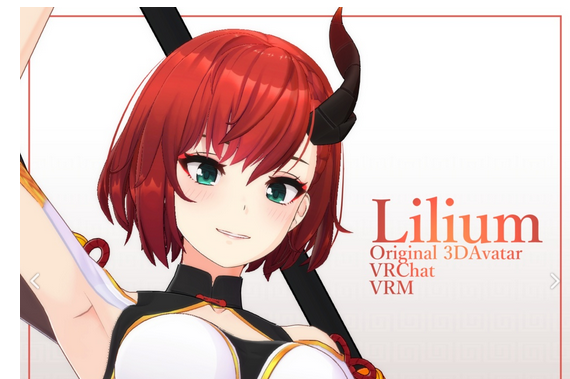
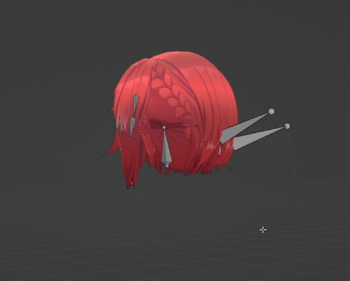
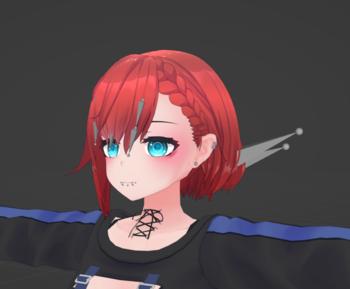
I chose lilium hair:
Loading up and starting
First, prep blender. Install (latest is fine), then install development version of CATS. This isn't super intuitive:
- Go to https://github.com/absolute-quantum/cats-blender-plugin/tree/development and click "Code" at the middle upper right and 'download as zip'. This is how to get the development branch of CATS. It's not intuitive since there's download buttons everywhere else for the normal CATS release which hasnt been updated in 2 years.
- Go to blender (I recommend https://www.blender.org/download/lts/3-3/ since it will stay the same for the longest time) and edit-preferences->addons and upload the zip.
Better fbx importer/exporter is recommended but optional; you'll be fine without it in most cases. It's a paid addon so I cant link it here.
Extracting the glaze I got this:
- FBX: Contains the files to import into blender: Mesh data.
- PNG: Pre-exported textures and matcaps and such
- PSD: Photoshop projects that are layered versions of textures. If you don't have PSDs, choose another booth.
- UnityPackage. This is a prepack that can be loaded into unity directly. Contains lots of the animations, materials, and basically everything preconfigured. If you want to do no customisation at all; you can load this into unity directly and skip to the unity parts of the tutorial.
- VRM: A VRM is another prepackaged format 'avatar package' that's a more common open standard. Cool to see but rare.
- Some PDFs: I didn't even open these.
This is where the videos start. The following shows how to load an fbx into blender, and prep it for starting:
- Load FBX into Blender
- Fix materials for viewing
- Check out the model: Textures, shapekeys, weighting.
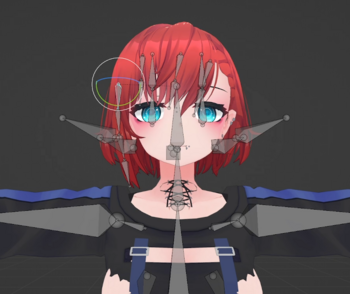
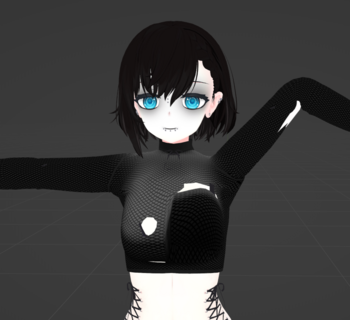
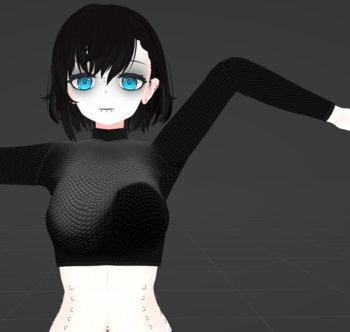
The below video walks you through (my) process of loading an fbx into blender. I first fix the textures on the materials so it looks reasonable, then I check the weighting by wiggling bones, then check the shapekeys to see what I'm working with, then I check the UV map. The goal here is to get a feel for what is on the booth, how the meshes are split, and so on.
Video
First FBX import into blender
LINK: https://files.catbox.moe/fpf821.mp4
Mesh Editing
Part of customising a booth is going to be adding, swapping, and editing mesh to fit. The highest value and lowest effort mod is usually a hairswap. So long as the face isn't super distinctive you can make your avatar have a reasonable unique look. If the booth has face modifying shapekeys you can tweak those too and enhance that uniqueness.
Hair Swap
Swap the hair. Reasonably simple.
Adding any object will come in a number of distinct stages:
- Clean up the object in a new blender window/file to get it ready for import into your main project
- Append the thing you want to your current project
- Use pose mode editing to get the object in roughly the right shape
- Use proportional editing/sculpting to get the mesh exactly right
- merge the armatures
- Check weighting
- Done
The exact techniques are the same as in Add_outfit
The videos below shows me doing this process. A few things to note:
- I accidentally chose a hair that was way harder than average. 90% of the time just pose-mode editing is enough for hairs.
- It's very similar to the existing hair, which is another kind of mistake, but oh well.
Video
1: Clean up the object:
LINK: https://files.catbox.moe/e0v725.mp4
2: Append the new hair to the base and (3) use pose mode to adjust:
LINK: https://files.catbox.moe/w7gwjk.mp4
4: Fine tune the mesh with proportional editing:
LINK: https://files.catbox.moe/1bvzzn.mp4
5: Merge the hair into the existing armature and (6) check, and (7) done:
LINK: https://files.catbox.moe/ienq1g.mp4
Texture Editing
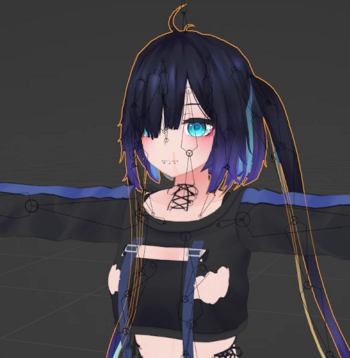
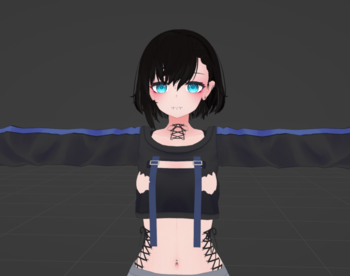
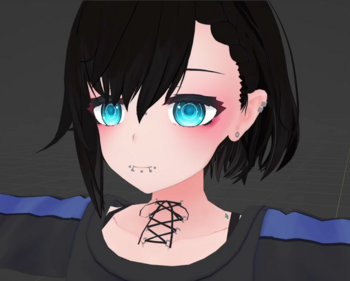
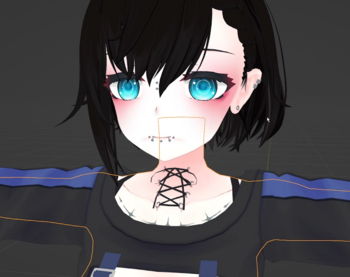
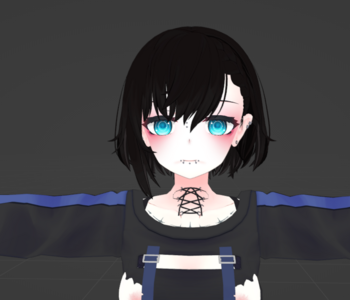
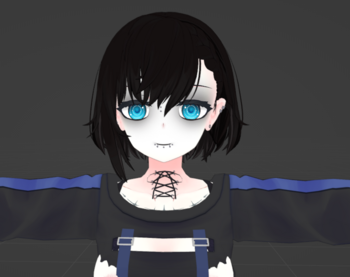
One common editing process is to change the textures. The goal here will be to change the color of the hair (to black), and set a more goth colour scheme for the clothing too. I will also be altering the eye colour (I decide against it but the process is recorded).
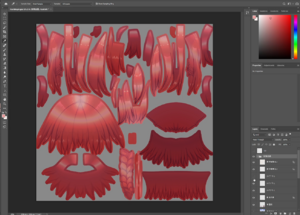
To start with you'll need Photoshop. I'm using 2021, works fine. You can also use GIMP for most texture editing but you'll often find PSDs that use adjustment layers and GIMP just doesn't import those properly. It's a shame for me too because I am more familiar with GIMP. You'll be mostly working from the PSDs and editing those.
The workflow is usually like follows:
- Modify the PSD
- Export the texture to PNG
- Import it into Blender
- Go to 1.
PSDs come in layers which allow for fine tuning and high-quality edits to the textures at the cost of not being particularly UV-aware. For more advanced texture work, Substance Painter is the tool of choice.
The goal for the video flow below is:
- Blacken the hair
- Change the skin tone to be more pale
- Considering an eye tone change
- Adding Makeup Modifications
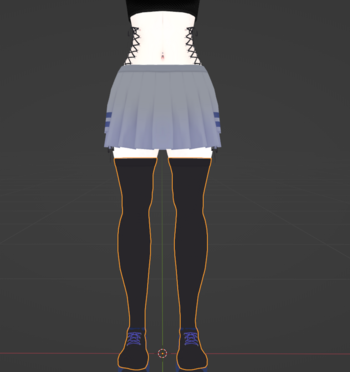
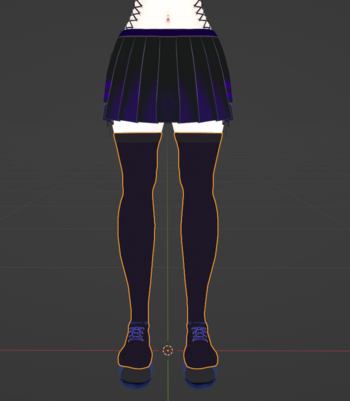
- Modify outfit textures
Video
1: Recolouring Hair
LINK: https://files.catbox.moe/p1cc1p.mp4
2: Recolouring Skin texture
LINK: https://files.catbox.moe/ibwh7e.mp4
3: Changing Eye Makeup
LINK: https://files.catbox.moe/z0w9te.mp4
4: Changing Skirt Colour
LINK: https://files.catbox.moe/4negoq.mp4
Adding Clothing
Changing clothes is a fundamental of modifying a booth avatar. In this section I grab a shirt from booth and attach it to the model. Note that I've increased the difficulty; if you can pick a outfit item that is pre-made for your avatar you can skip posing, mesh modifications, and weighting.
This is going to have the exact same workflow as Add_outfit, and it is going to be as follows:
- Find an outfit
- Clean it up for transfer
- Pose it roughly into position (s)
- Proportional edit and sculpt (s)
- Merge armatures
- Weight to the new mesh (s)
- Merge materials (Sometimes optional)
Outfit Finding
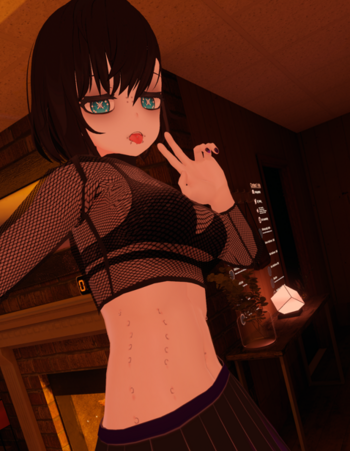
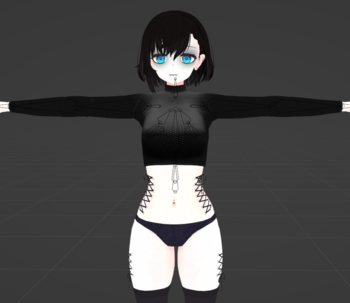
First I checked https://avatar-network.herokuapp.com/avatars/?word=glaze for outfits, no luck. I asked around and found https://beckenzi.booth.pm as a nice source for goth style clothing. I ended up deciding to affix https://beckenzi.booth.pm/items/4656108 - I'd ideally want to attach more but for tutorial sake I'm just doing one item. Note how this has compatibility with other bases but not this one.
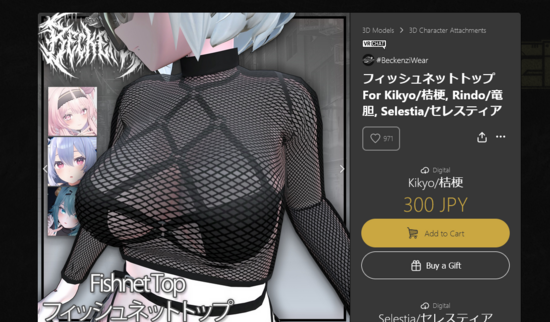
I bought the fishnet top and got greeted with a unitypackage like below. This is common with outfits. I extracted it with https://pypi.org/project/unitypackage-extractor/ (or similar, there's a half dozen extractors out there) to obtain access to the FBX and texture(s).
From there I start attaching.
Video
1: Clean for transfer
LINK: https://files.catbox.moe/k7w0ng.mp4
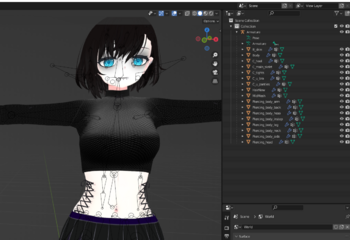
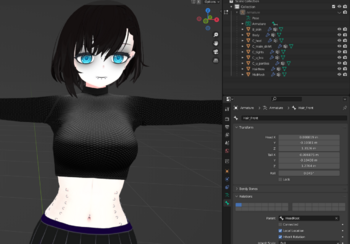
2: Append to main blend project, Pose edit roughly to shape, modify mesh to the right shape, then merge armatures
LINK: https://files.catbox.moe/jzywcw.mp4
3: Tune weighting on shirt to match base. (Weight painting)
LINK: https://files.catbox.moe/0cl1ic.mp4
Prepping for Unity
While in blender the avatar will be in pieces and put together for ease of working on it, and not built to use in unity so much. When you are happy with how the avatar looks in blender, it is time to do an optimisation and ‘unity organisation’ pass. This happens after you make a decision, and the decision is this: What do you need from the avatar. Then you pare it down to that.
A clearer way to say it is are you making an erp avatar or a general avatar. If ‘fully functional’ (an ERP avatar usually), less optimisation is needed, but you still need to arrange the meshes so they are toggleable as you desire in VRC.
If a general avatar, a lot more optimisation needs to be done to make a general purpose hangout avatar that performs well for you and others.
General rule of optimisation is to optimise down to what you need. For this tutorial I'll be doing some quick stuff to fix one obvious problem. If you want to learn more there's LOTS of info at Avatar_Optimization and the example linked on the page.
Tasks for this section:
- Simple material merge to fix one problem material
- Final deletion of things I don't want
- Scuff check
Video
1: Material Merge, Mesh Merge, And unwanted item deletion
LINK: https://files.catbox.moe/uss0wf.mp4
Unity
Blender is more of a creative program while unity is more about configuration and setup. Only a few parts of unity need to be done in order; and then this is just import into unity and upload to VRC. Everything in between is free form and so this section will be split up a lot more. However, I will have an order I prefer to do things so it is worth following this if you don't have experience.
Note that you'll need to install the correct version of unity: https://creators.vrchat.com/sdk/current-unity-version
Packages I import include:
- Liltoon https://github.com/lilxyzw/lilToon/releases
- Pumkins avatar tools https://github.com/rurre/PumkinsAvatarTools/releases
- Combo Gesture Expressions (CGE) https://github.com/hai-vr/combo-gesture-expressions-av3/releases
- VRCFury (Install in Creator Companion with the package API: https://vcc.vrcfury.com/ )
Tasks for this section:
- Export from blender
- Create Unity Project and import needed project components
- Import Avatar Items: Mesh (fbx), textures (images), material caps, normal maps, skin maps, etc etc. Animations, etc.
Out of order items:
