VRCLens
VRCLens is an advanced camera filter system for VRChat, created by hirabiki on Booth. It's relatively cheap, at ¥1,200, but provides a wide variety of options.
Adding to your avatar
There are installation instructions on a Google Doc, but they're a bit awkward with their English, and the pictures are useless.
- Drag the UnityPackage into the root of your assets. DO NOT CHANGE WHERE THEY ARE STORED. There are hardcoded paths that will break shit if you move it around.
- Once Unity finishes importing stuff, save and restart Unity.
- Drag the VRCLens prefab from Hirabiki/VRCLens/Prefabs to your scene's root. Do NOT stick it inside of an avatar.
- Select the VRCLens prefab in your scene.
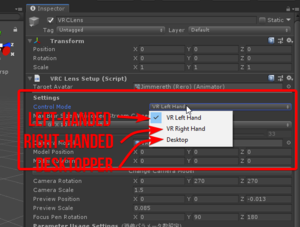
- In the inspector, under the Settings heading, choose the control mode you want to use.
- In the inspector, under Settings, drag the avatar you want to add VRCLens to, to the Target Avatar field.
- Set Settings > Max Blur Size to whatever your graphics card can support.
- You should see three manipulator gadgets floating around the scene. DO NOT REPARENT THEM IN THE NODE GRAPH.
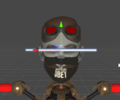
- A white bar, which I'll call the Eye Bar. It should be positioned over your pupils, with the center directly on your nose.
- The camera. It should be positioned over the proximal (first) bone of your middle finger.
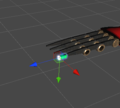
- A blue/green bar with a white tip, called the Stylus. It should be positioned over your index finger's distal (last) bone on the opposite hand from the camera.
- Enable/disable Parameter Usage Settings and Default Camera Settings to taste.
- Set Target Menu to where you want the VRCLens button to be added, or leave it blank if you don't have a menu added.
- Press Apply VRCLens to install VRCLens to your avatar.
-
Eye Bar
-
Camera
-
Stylus
You should now be ready to upload.


