Unity: Difference between revisions
| Line 64: | Line 64: | ||
Here's an example of the constraint settings: | Here's an example of the constraint settings: | ||
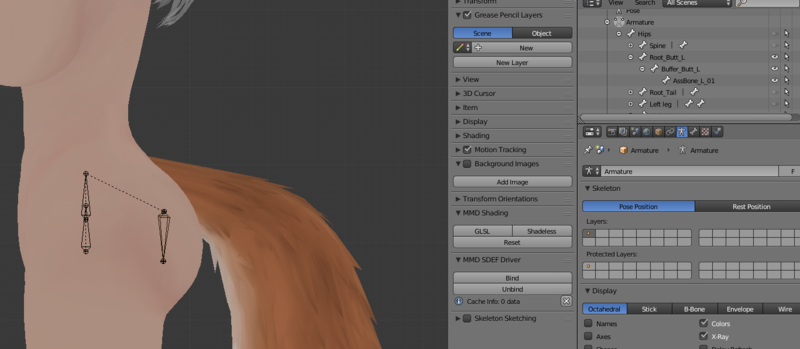
[[File:Bonesandsettings.png| | [[File:Bonesandsettings.png|800px|bone structure plus settings]] | ||
Messing with the weight of the constraint balanced with the weight painting is the key to get the right effect. Lots of tweaking expected. Generally for testing it's good to check reasonable leg angles (40-60 degrees), and then an extreme angle such as 120 degrees bent leg. If it looks good in both then you're good. | Messing with the weight of the constraint balanced with the weight painting is the key to get the right effect. Lots of tweaking expected. Generally for testing it's good to check reasonable leg angles (40-60 degrees), and then an extreme angle such as 120 degrees bent leg. If it looks good in both then you're good. | ||
Revision as of 18:51, 13 May 2022
Unity is the engine that VRC runs on, so uploading assets to VRC requires use of the Unity Editor. You edit and put together assets such as worlds and avatars and upload them.
[TODO]: This entire article:
- Installation
- Configuration
- Useful packages/addons/etc
- Tidbits of how to do certain things; IE physbones tips, Constraints, etc. Since it's easier to split articles up than to merge them I'm going to throw almost everything into this main article.
Tidbits
Constraints
Moving Props Around with Constraints
Let's say you have a gun in a thigh holster, and you want to 'snap' it to your hand from your thigh, and back again. could be glasses from your face, or whatever. first in blender you want to have it either a separate mesh or separately weighted on its own bone; if you can move it around by moving the bone around this'll work.
1. Create empty objects on the armature where you want the object to snap to. EG; One on the hand (hand_target) and one on the leg (holster_target) 2. Create a parent constraint on the mesh/object you want to be moving around (the gun for example), and give it two sources; the two target objects you made. Set the weights to both be zero (the number next to the source) 3. Activate and lock the constraint. 4. Set the weight of one target to 1. Then move the empty object (if necessary) so the position you want it to snap to. 5. Repeat for the other target.
If done properly (these instructions have not been tested), changing the weight of each source to 1 and the other to 0 will snap the object to that location and it will move along with the relevant bone. You could extend this to move the object around to multiple locations if you wished.
To actually get this working; make an animation that switches the source weighting and make that trigger on a condition, such as a toggle on your radial menu.
Buttstraints / Asstraints
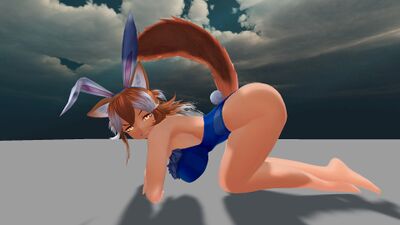
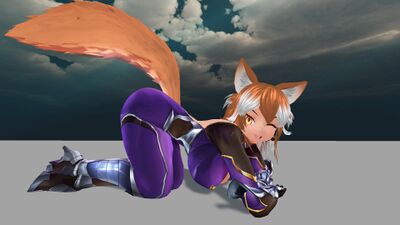
This is an advanced bit of avatar magic that increases the roundness and fullness of the butt when bent over. This is an advanced technique that is going to require significant amounts of autism and general knowhow to do.
Here are some examples of the nice full butt:
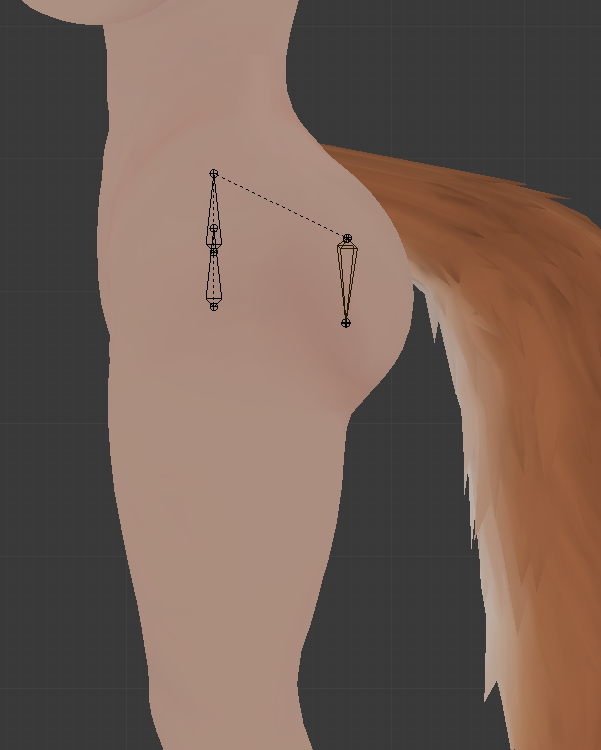
To do this you need to weight your butt to have three bones:
- One that works with the constraint directly above and is rotated to be 180 degrees away from the leg bone, so when rotation constrainted to the leg it moves in the opposite direction. So basically directly above the leg and pointing away, so when constrainted it kind of pivots around the top of the leg to overall move in the other direction (lifting the entire butt area up)
- A zero-weight bone that acts as a root for the bones weighted to the butt area that provide wiggle and such. zero weight root for physbones, more or less.
- The actual assbone that is weighted to the cheeks. Needs to be there for both the wobble and for it to stretch out as the leg rotates forwards.
The entire point is to have the butt bones stick out a little bit more when the legs bend so that the ass ain't flat, and you're using constraints to pivot the butt bones out with the legs.
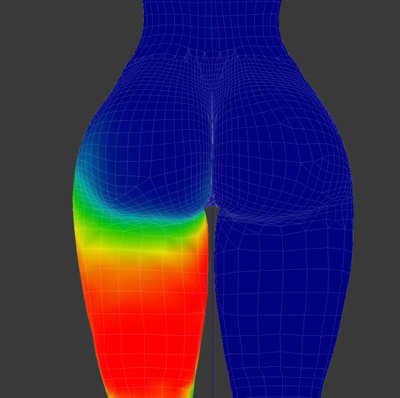
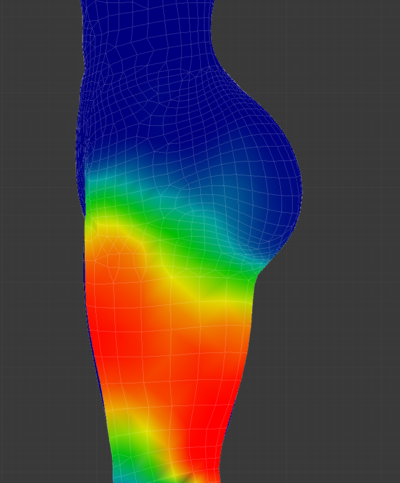
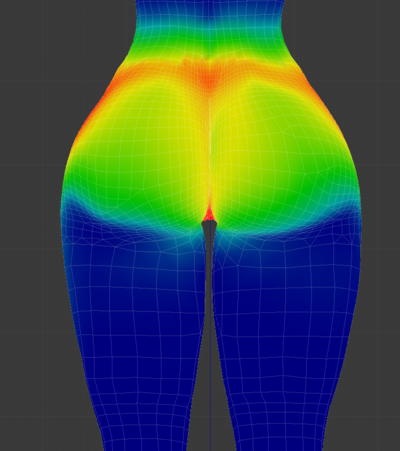
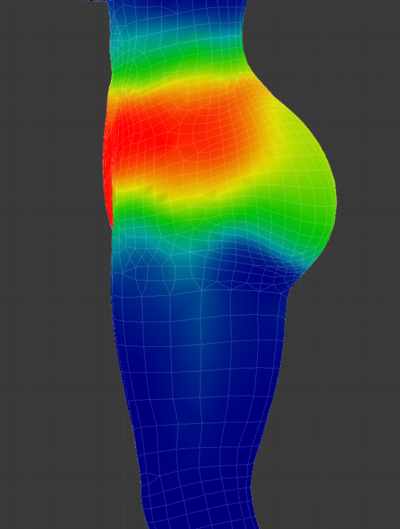
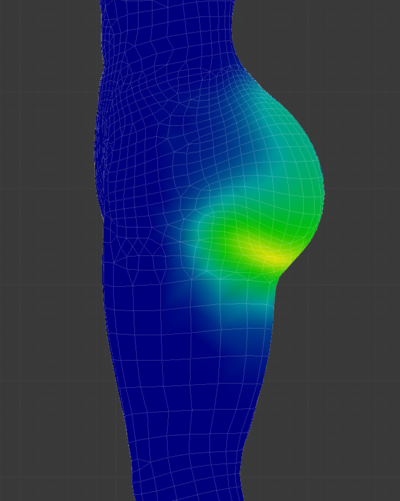
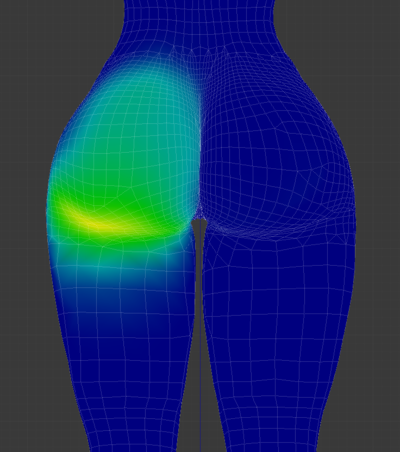
Here are some examples of the weighting:
Leg Weight:
Core Weight (Hip?):
Cheek Weight:
Here's an example of the constraint settings:
Messing with the weight of the constraint balanced with the weight painting is the key to get the right effect. Lots of tweaking expected. Generally for testing it's good to check reasonable leg angles (40-60 degrees), and then an extreme angle such as 120 degrees bent leg. If it looks good in both then you're good.
To save some unity imports; There are Blender constraints apparently, but it's possible to just pose the bones as I'd expect them to move in Unity. So rotate legs forward 60 degrees, rotate the to-be constrained bone 30 degrees back For example.
