Avatar Hypertutorial: Difference between revisions
| Line 94: | Line 94: | ||
The below video walks you through (my) process of loading an fbx into blender. I first fix the textures on the materials so it looks reasonable, then I check the weighting by wiggling bones, then check the shapekeys to see what I'm working with, then I check the UV map. The goal here is to get a feel for what is on the booth, how the meshes are split, and so on. | The below video walks you through (my) process of loading an fbx into blender. I first fix the textures on the materials so it looks reasonable, then I check the weighting by wiggling bones, then check the shapekeys to see what I'm working with, then I check the UV map. The goal here is to get a feel for what is on the booth, how the meshes are split, and so on. | ||
=== Whoops Just UnityPackage === | |||
If you open your booth and it's just a unitypackage (common for outfits), you may need to extract it to find the fbx/textures/etc. I use https://pypi.org/project/unitypackage-extractor/ but this is for more advanced users, so google one you think you can use. There's dozens out there. | |||
== Video == | == Video == | ||
Revision as of 14:52, 15 February 2024
This page will link and describe an entire process of turning a booth avatar into a customised, fully kitted, and highly functional avatar.
tldr:
What you will need:
- Blender + CATS
- Better FBX importer recommended
- Unity Hub
- VRChat Creator Companion
Note on videos: DOWNLOAD THE VIDEOS They're h265 mp4s that might not play in a browser; download them or watch the dailymotion. (Note dailymotion is trash and deleted half the videos because of 3d modelling boobies) Also I will not activate windows.
Overall Flow
The process follows a pretty reliable pattern and that is from the Avatar_Creation_Process
- Find a base model to start with.
- Load this into Blender
- Clean and modify the model to work with VRChat/Unity
- Export this model
- Load this into Unity
- Configure and setup to be compatible with VRChat
- Upload to VRChat and use
Mandatory Steps
You can skip many of these steps since a lot are customization. For example you could get a prefab from booth and just upload it straight to VRC, and pick and choose as much or as little customization as you want. This tutorial goes through more than most need.
For example you can skip right to "Uploading Premade Package". But if you want to change the hair you'll need to do a lot more.
Finding a Booth
First, find a booth you want. There's plenty of choice:
- Go to Avatar Museum
- Ask around
- browse sites like https://boothplorer.com/ or https://avatar-network.herokuapp.com/avatars/
- "site: booth.pm <booth name>" in google
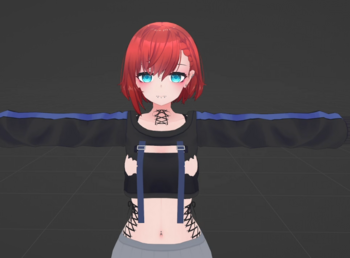
For this tutorial I had a general aesthetic I wanted, and that was 'goth gf'. So I look around for booths I can turn into that, and have a general aesthetic guiding process for changes to the booth.
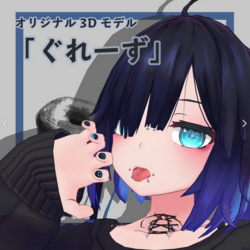
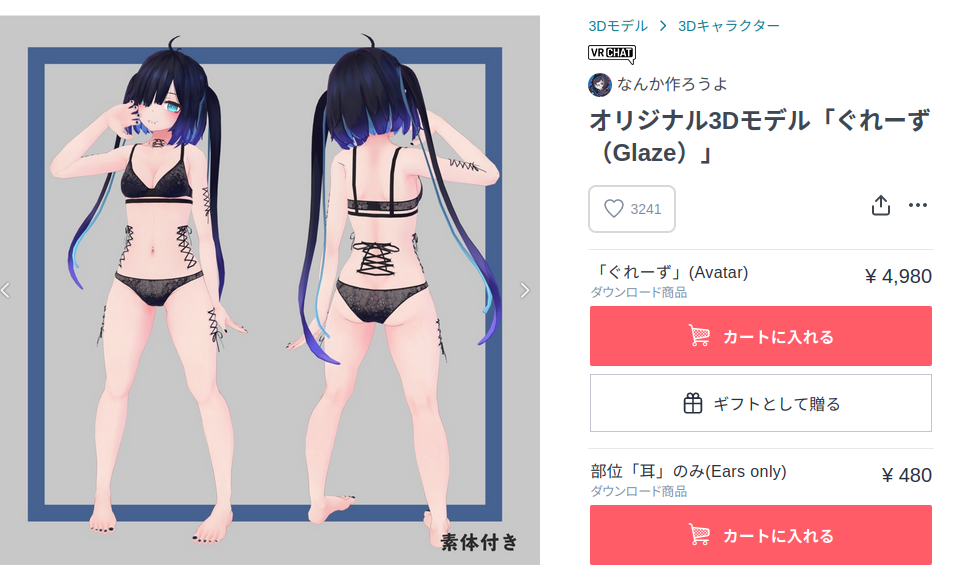
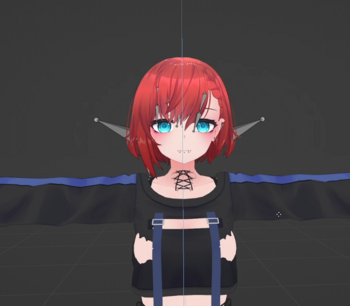
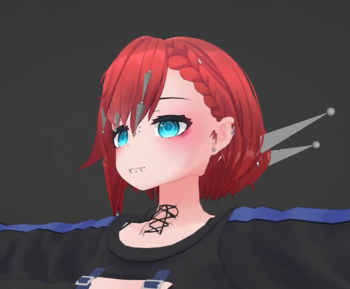
I chose 'Glaze': https://booth.pm/ja/items/2040115
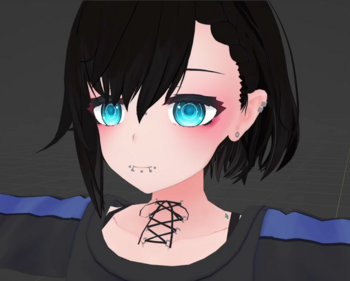
Piercings, kinda close style. Will do some modifications to get it to goth mode.
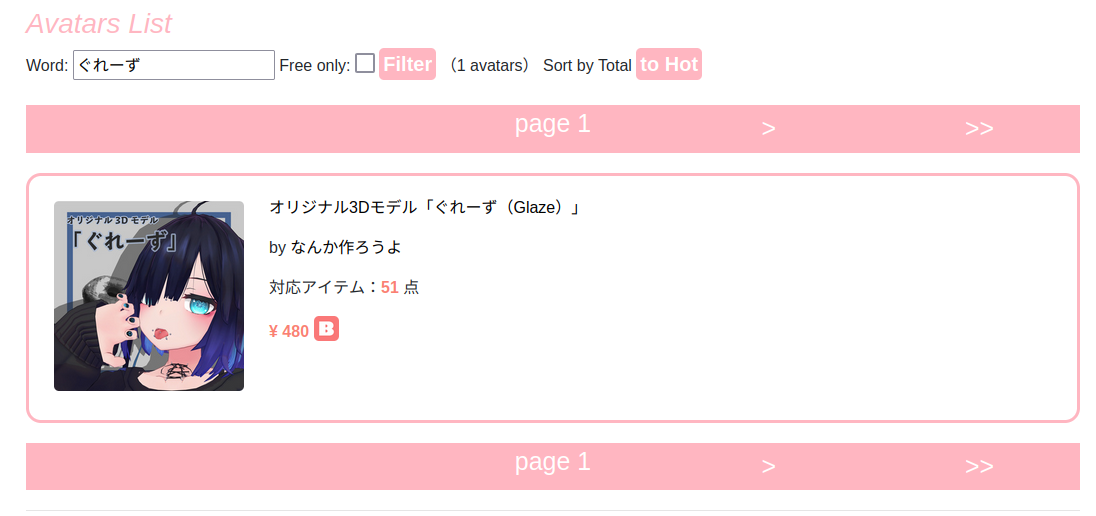
Then check what outfits are available with https://avatar-network.herokuapp.com/avatars/?word=glaze
No outfits. Great. Note that if I'd gone to https://boothplorer.com/avatar/glaze instead I would have found lots of outfits and would probably have used one of those.
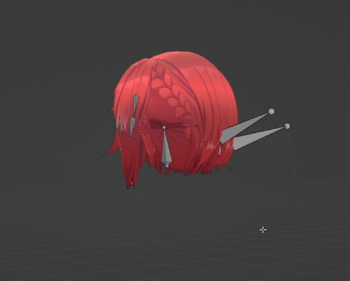
Primary modification recommended is a hairswap. Changes the profile of the booth a lot, unless it has a very distinctive face (which the glaze does but whatever)
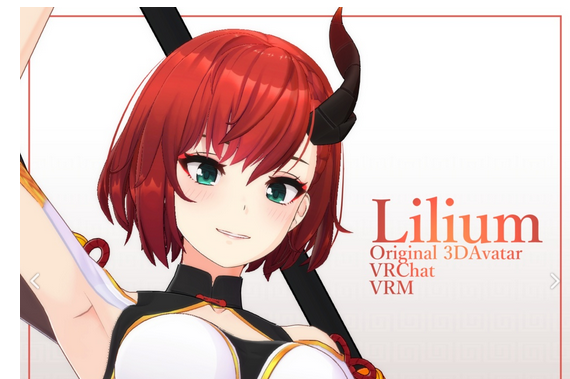
I chose lilium hair:
Loading up and starting
Prep Blender
First, prep blender. Install (latest is fine), then install development version of CATS. This isn't super intuitive:
- Go to https://github.com/absolute-quantum/cats-blender-plugin/tree/development and click "Code" at the middle upper right and 'download as zip'. This is how to get the development branch of CATS. It's not intuitive since there's download buttons everywhere else for the normal CATS release which hasnt been updated in 2 years.
- Go to blender (I recommend https://www.blender.org/download/lts/3-3/ since it will stay the same for the longest time) and edit-preferences->addons and upload the zip.
Better fbx importer/exporter is recommended but optional; you'll be fine without it in most cases. It's a paid addon so I cant link it here.
Extract Glaze
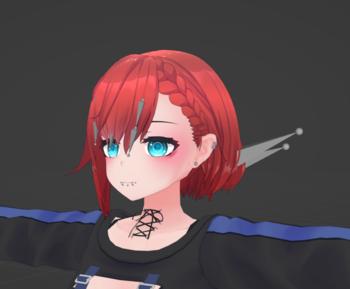
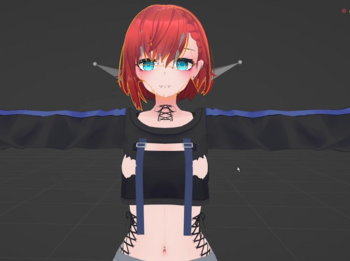
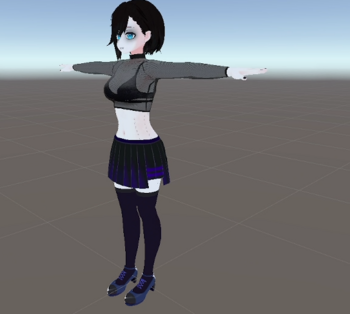
Extracting the glaze I got this:
- FBX: Contains the files to import into blender: Mesh data.
- PNG: Pre-exported textures and matcaps and such
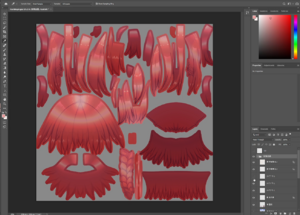
- PSD: Photoshop projects that are layered versions of textures. If you don't have PSDs, choose another booth.
- UnityPackage. This is a prepack that can be loaded into unity directly. Contains lots of the animations, materials, and basically everything preconfigured. If you want to do no customisation at all; you can load this into unity directly and skip to the unity parts of the tutorial.
- VRM: A VRM is another prepackaged format 'avatar package' that's a more common open standard. Cool to see but rare.
- Some PDFs: I didn't even open these.
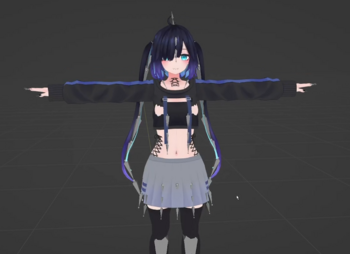
This is where the videos start. The following shows how to load an fbx into blender, and prep it for starting:
- Load FBX into Blender
- Fix materials for viewing
- Check out the model: Textures, shapekeys, weighting.
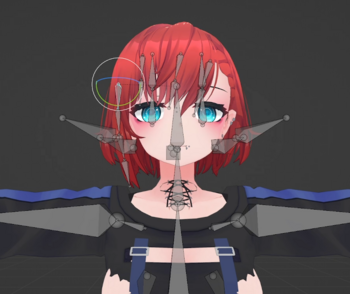
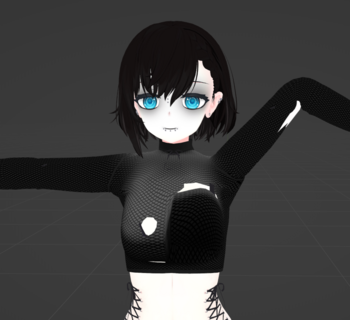
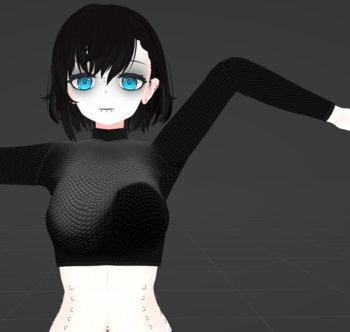
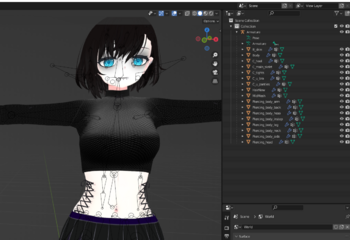
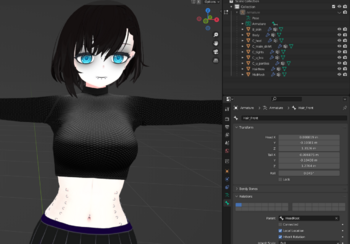
The below video walks you through (my) process of loading an fbx into blender. I first fix the textures on the materials so it looks reasonable, then I check the weighting by wiggling bones, then check the shapekeys to see what I'm working with, then I check the UV map. The goal here is to get a feel for what is on the booth, how the meshes are split, and so on.
Whoops Just UnityPackage
If you open your booth and it's just a unitypackage (common for outfits), you may need to extract it to find the fbx/textures/etc. I use https://pypi.org/project/unitypackage-extractor/ but this is for more advanced users, so google one you think you can use. There's dozens out there.
Video
First FBX import into blender
LINK: https://files.catbox.moe/fpf821.mp4 or https://dai.ly/k20wuaPZAz6nxXztCou
Mesh Editing
Part of customising a booth is going to be adding, swapping, and editing mesh to fit. The highest value and lowest effort mod is usually a hairswap. So long as the face isn't super distinctive you can make your avatar have a reasonable unique look. If the booth has face modifying shapekeys you can tweak those too and enhance that uniqueness.
Hair Swap
Swap the hair. Reasonably simple.
Adding any object will come in a number of distinct stages:
- Clean up the object in a new blender window/file to get it ready for import into your main project
- Append the thing you want to your current project
- Use pose mode editing to get the object in roughly the right shape
- Use proportional editing/sculpting to get the mesh exactly right
- merge the armatures
- Check weighting
- Done
The exact techniques are the same as in Add_outfit
The videos below shows me doing this process. A few things to note:
- I accidentally chose a hair that was way harder than average. 90% of the time just pose-mode editing is enough for hairs.
- It's very similar to the existing hair, which is another kind of mistake, but oh well.
Video
1: Clean up the object:
LINK: https://files.catbox.moe/e0v725.mp4 https://dai.ly/k1fYqHMOgyHTlwztCoJ
2: Append the new hair to the base and (3) use pose mode to adjust:
LINK: https://files.catbox.moe/w7gwjk.mp4 https://dai.ly/k3b3WnHYdvcNANztCoW
4: Fine tune the mesh with proportional editing:
LINK: https://files.catbox.moe/1bvzzn.mp4 https://dai.ly/k4ps7JK7rpYKSlztCp4
5: Merge the hair into the existing armature and (6) check, and (7) done:
LINK: https://files.catbox.moe/ienq1g.mp4 https://dai.ly/k6RZOQjiXpnYumztCp8
Texture Editing
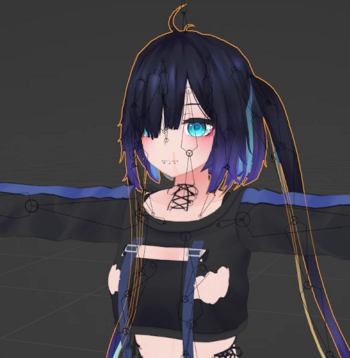
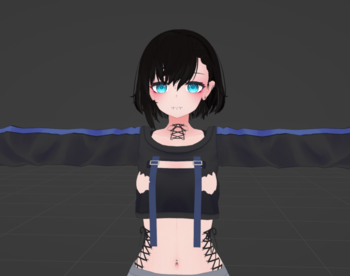
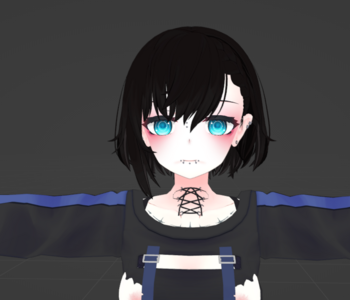
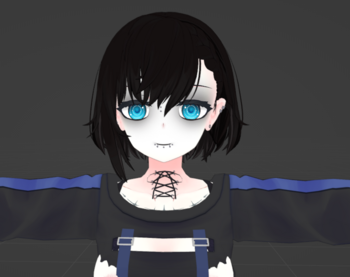
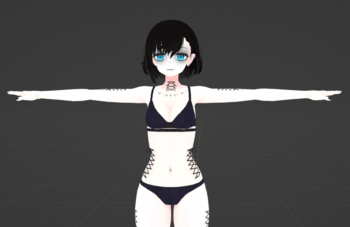
One common editing process is to change the textures. The goal here will be to change the color of the hair (to black), and set a more goth colour scheme for the clothing too. I will also be altering the eye colour (I decide against it but the process is recorded).
To start with you'll need Photoshop. I'm using 2021, works fine. You can also use GIMP for most texture editing but you'll often find PSDs that use adjustment layers and GIMP just doesn't import those properly. It's a shame for me too because I am more familiar with GIMP. You'll be mostly working from the PSDs and editing those.
Texture Editing Workflow
The workflow is usually like follows:
- Modify the PSD
- Export the texture to PNG
- Import it into Blender
- Go to 1.
PSDs come in layers which allow for fine tuning and high-quality edits to the textures at the cost of not being particularly UV-aware. For more advanced texture work, Substance Painter is the tool of choice.
The goal for the video flow below is:
- Blacken the hair
- Change the skin tone to be more pale
- Considering an eye tone change
- Adding Makeup Modifications
- Modify outfit textures
Video
1: Recolouring Hair
LINK: https://files.catbox.moe/p1cc1p.mp4 <dailymotion won't let me upload this one>
2: Recolouring Skin texture
LINK: https://files.catbox.moe/ibwh7e.mp4 https://dai.ly/kDyuNG8tAL3N9QztCqX
3: Changing Eye Makeup
LINK: https://files.catbox.moe/z0w9te.mp4 https://dai.ly/kKUI50yf43dX5nztCu6
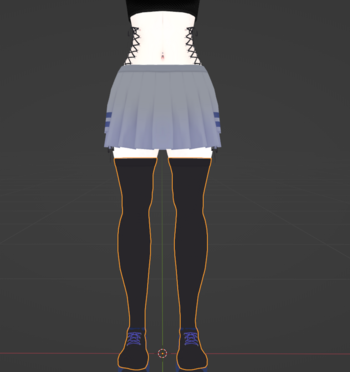
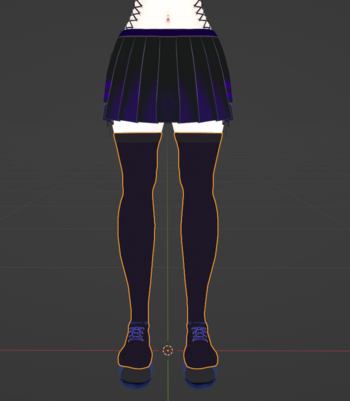
4: Changing Skirt Colour
LINK: https://files.catbox.moe/4negoq.mp4 <Dailymotion wont' let me upload this one>
Adding Clothing
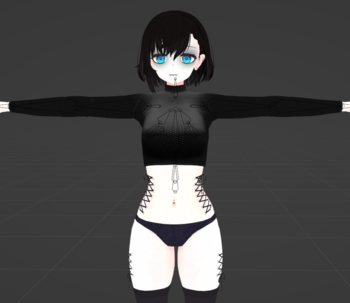
Changing clothes is a fundamental of modifying a booth avatar. In this section I grab a shirt from booth and attach it to the model. Note that I've increased the difficulty; if you can pick a outfit item that is pre-made for your avatar you can skip posing, mesh modifications, and weighting. If you have an outfit premade for the base you're using you can skip steps marked with (s).
This is going to have the exact same workflow as Add_outfit, and it is going to be as follows:
- Find an outfit
- Clean it up for transfer
- Pose it roughly into position (s)
- Proportional edit and sculpt (s)
- Merge armatures
- Weight to the new mesh (s)
- Merge materials/Optimize (Sometimes optional)
Outfit Finding
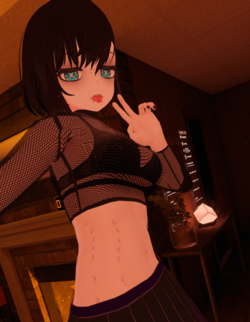
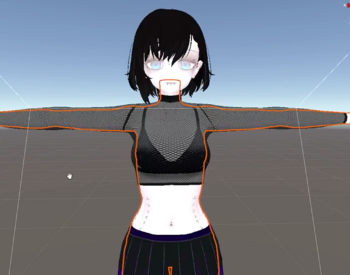
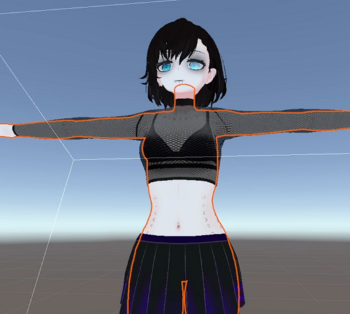
First I checked https://avatar-network.herokuapp.com/avatars/?word=glaze for outfits, no luck. I asked around and found https://beckenzi.booth.pm as a nice source for goth style clothing. I ended up deciding to affix https://beckenzi.booth.pm/items/4656108 - I'd ideally want to attach more but for tutorial sake I'm just doing one item. Note how this has compatibility with other bases but not this one.
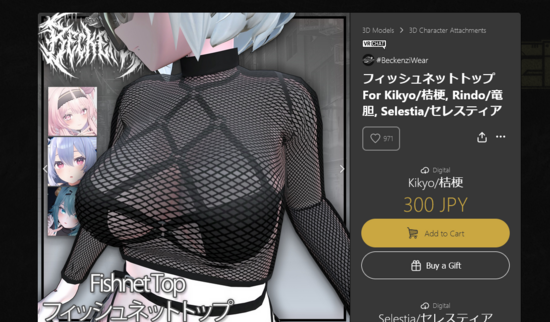
I bought the fishnet top and got greeted with a unitypackage like below. This is common with outfits. I extracted it with https://pypi.org/project/unitypackage-extractor/ (or similar, there's a half dozen extractors out there) to obtain access to the FBX and texture(s).
From there I start attaching.
Video
1: Clean for transfer
LINK: https://files.catbox.moe/k7w0ng.mp4 <dailymotion is fucking useless>
2: Append to main blend project, Pose edit roughly to shape, modify mesh to the right shape, then merge armatures
LINK: https://files.catbox.moe/jzywcw.mp4 <dailymotion is fucking useless>
3: Tune weighting on shirt to match base. (Weight painting)
LINK: https://files.catbox.moe/0cl1ic.mp4 https://dai.ly/k66LkkDBR6d5mhztCvS
Prepping for Unity
While in blender the avatar will be in pieces and put together for ease of working on it, and not built to use in unity so much. When you are happy with how the avatar looks in blender, it is time to do an optimisation and ‘unity organisation’ pass. This happens after you make a decision, and the decision is this: What do you need from the avatar. Then you pare it down to that.
A clearer way to say it is are you making an erp avatar or a general avatar. If ‘fully functional’ (an ERP avatar usually), less optimisation is needed, but you still need to arrange the meshes so they are toggleable as you desire in VRC.
If a general avatar, a lot more optimisation needs to be done to make a general purpose hangout avatar that performs well for you and others.
Optimisation?
General rule of optimisation is to optimise down to what you need. For this tutorial I'll be doing some quick stuff to fix one obvious problem. I'm intentionally not optimising much because the goal is to make an avatar with lots of toggles and options that will only really be used in one on one instances and not general use.
If you want to split off and make an avatar that's actually optimised for general use, there's LOTS of info at Avatar_Optimization and there is an example linked on the page showing the process for an average booth.
Tasks for this section:
- Simple material merge to fix one problem material
- Final deletion of things I don't want
- Scuff check
Video
1: Material Merge, Mesh Merge, And unwanted item deletion
LINK: https://files.catbox.moe/uss0wf.mp4 https://dai.ly/k5TmyCc7lX9aHsztCwc
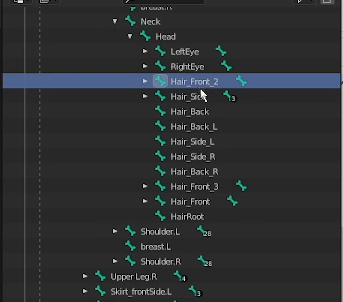
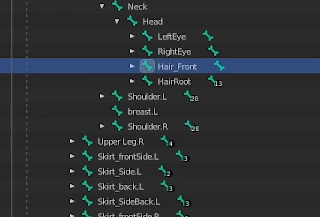
2: Adding root bones to bone sets in blender
Useful to make physbone configuration easier/more performant
LINK: https://files.catbox.moe/s1cpkm.mp4 https://dai.ly/k56G70ksEwZMsFztCwE
Unity
Blender is more of a creative program while unity is more about configuration and setup. Only a few parts of unity need to be done in order; and then this is just import into unity and upload to VRC. Everything in between is free form and so this section will be split up a lot more. However, I will have an order I prefer to do things so it is worth following this if you don't have experience.
Note that you'll need to install the correct version of unity: https://creators.vrchat.com/sdk/current-unity-version
Packages I import include:
- Liltoon https://github.com/lilxyzw/lilToon/releases
- Pumkins avatar tools https://github.com/rurre/PumkinsAvatarTools/releases
- Combo Gesture Expressions (CGE) https://github.com/hai-vr/combo-gesture-expressions-av3/releases
- VRCFury (Install in Creator Companion with the package API: https://vcc.vrcfury.com/ )
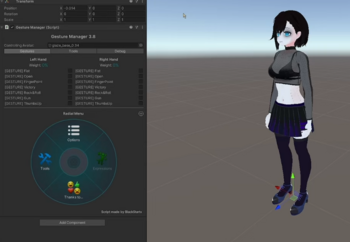
- Gesture Manager (Creator Companion package)
Tasks for this section:
- Export from blender
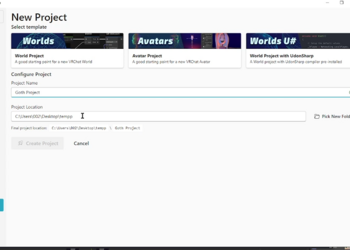
- Create Unity Project and import needed project components
- Import Avatar Items: Mesh (fbx), textures (images), material caps, normal maps, skin maps, etc etc. Animations, etc.
Out of order items:
Video
Exporting to FBX from Blender, Creating new Unity project, Importing basic items, and a quick unity UI demo
LINK: https://files.catbox.moe/v73rl0.mp4 <dailymotion is fucking useless>
(setting shapekeys), Material configuration: Texture, matcap, normalmap, Alpha masks
In this I set shapekeys (which should be set in blender if optimising, unity 2022 soon though..). I also set Material settings; I pick the liltoon shader ( https://github.com/lilxyzw/lilToon ) (I use 1.3.6 but latest should be fine). I use the original glaze as a reference, but the overall process is set a texture then tweak settings until it looks good. I demo setting matcaps and the use of masks for them
LINK: https://files.catbox.moe/e751er.mp4 <dailymotion is fucking useless>
Creating a mask for a matcap
Body didn't come with a skin matcap or mask for it; so I applied a matcap I had lying around (in this case from imeris) and made a mask so it didn't affect areas I don't want. Use this to make good use of the double matcap slots; you can have a pair of masks that white different areas for two different matcaps on the same material affecting different areas.
LINK: https://files.catbox.moe/eyp65q.mp4 <dailymotion is fucking useless>
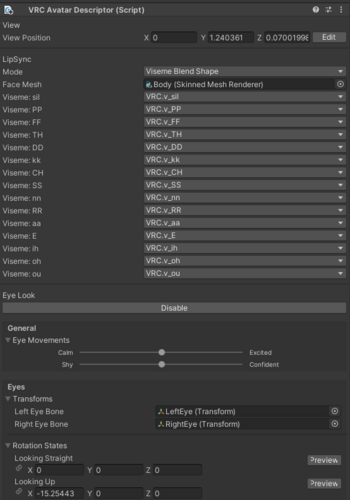
Configuring VRC Avatar Descriptor
The VRC avatar descriptor allows vrc's sdk to identify and operate on avatars to make them work in VRC.
LINK: https://files.catbox.moe/mstywk.mp4 https://dai.ly/k66ciTx9ciziA1zueuj
Using Combo Gesture Expressions to set/create gestures
Unity 2022 Update: Apparently (???) CGE doesn't work on Unity 2022 so this entire section is outdated now. Best I got for you is to use FaceEmo instead: https://suzuryg.github.io/face-emo/ and there's a converter for CGE to FaceEmo : https://docs.hai-vr.dev/docs/products/combo-gesture-expressions/convert-to-faceemo
Combo Gesture Expressions (CGE) is/was an awesome tool that is the only way I'd create or set gestures for an avatar. You use it to set animations in slots, as well as use it as a graphical editor to blend shapekeys into the gestures you want. Then you set an FX layer and it builds all the gestures into a couple layers for you in a blend tree.
(I also add an alpha mask to a material)
LINK: https://files.catbox.moe/sac5rx.mp4 <dailymotion is fucking useless>
Configuring Physbones
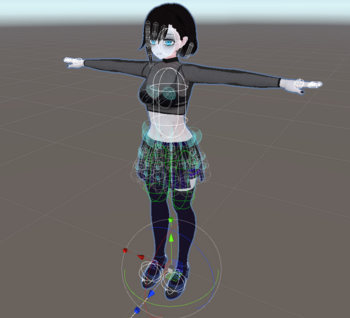
Physbones make things wiggle. In this I set hair, boobs, and skirt physbones. The settings in the video are pretty rough and if you work from them you should expect to do tweaking; but in most cases settings depend on your model anyway.
LINK: https://files.catbox.moe/hfdrmi.mp4 <dailymotion is fucking useless>
Note on Skirt: Some skirts have incorrect bone-rolls; you can tell if you try and set the angle-limit and if the angle limits aren't all pointing 'away' from the centre, you need to fix the bone rolls. The short of this is you turn on bone axes, set your cursor to the centre of your skirt 'cone', and then 'recalculate roll' to cursor.
Tupper and Hai have released short videos on twitter, reuploaded here: Tupper's, Hai's.
Toggles
Toggle things on the avatar, like clothing, or fun objects.
VRCFury and similar tools can just make a toggle for you automatically but I only recommend doing this after understanding how to do it manually. I will rarely advocate for spending more work on something, but when the auto tool doesn't work for you, you don't want to be in the dark. Plus tools like pumkins tools aren't VRCfury aware (yet?) so you end up redoing your vrcfury toggles anyway; giving you more work. Thankfully pumkins is SPS socket/plug aware. Note that the more layers you have in your animation controller, the less optimised it is. It is actually very important to reduce layer counts as much as you can as it eats CPU, which is a common VRC bottleneck.
Basic Toggle:
A basic toggle can be made for a single item to just turn it on and off. (Or in more complex terms; it allows you to change the state of the avatar between two different states.)
The video goes through some basics of how to put together a menu, parameters, animation controller, animations, and test it all at the end.
Understanding the hideously complex flow of (from the top): menu item --> changes vrc parameter --> Changes animation controller parameter --> condition is met for transition --> transition occurs and changes animation --> animation plays and causes the toggle to trigger is important for debugging more complex arrangements. A basic toggle like this uses a layer per item, which should be avoided but not too much.
LINK: https://files.catbox.moe/6ownkz.mp4 https://dai.ly/k58RbXIGiF3y9czuevf
ANY state Toggle :
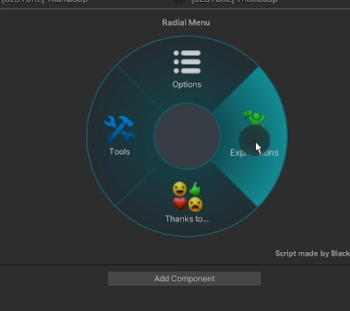
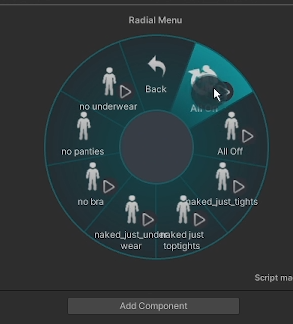
An ANY toggle uses a single layer to create toggles that activate a number of states. This is best used when you have a reasonably high number of combinations of things you want. In this case I use it to have toggles for clothing combinations, such as only underwear on, everything but undewear on, top on but no bra, etc etc. Useful if you just want to hit one button and have the avatar in a state you want.
Performance wise ANY states are more expensive than blend trees, but less expensive than having more layers.
LINK: https://files.catbox.moe/4m35ww.mp4 https://dai.ly/k30jLgpbwdOz59zuexH
Blend Tree Toggle:
No video- Putting it here for awareness. If you have lots of "on/off" toggles you can use a blend tree to merge them into one layer. <todo: link a resource to use> It's a bit complex and I would recommend against this for a first avatar.
Anchor Overrides and Bounding Box
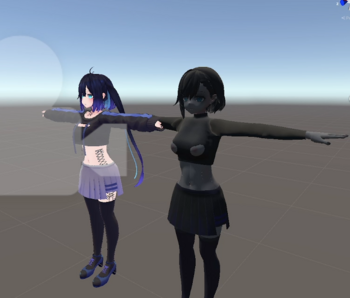
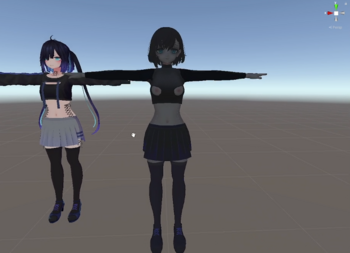
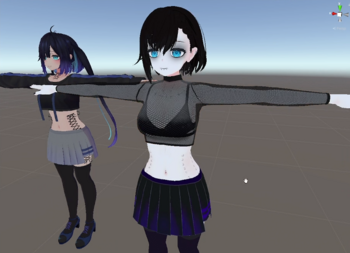
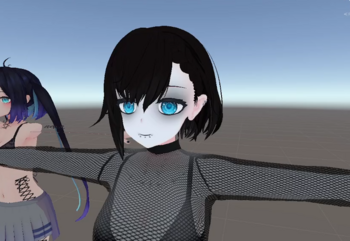
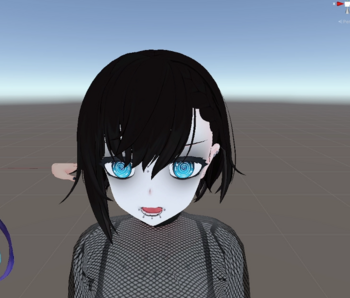
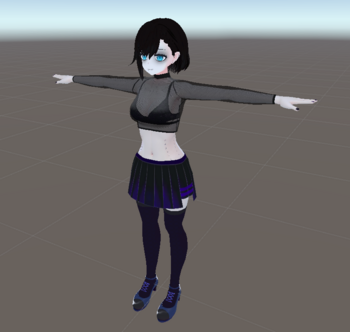
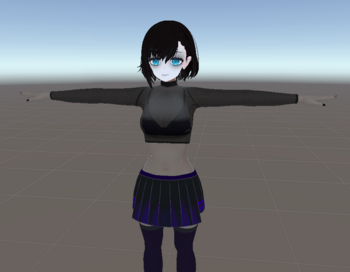
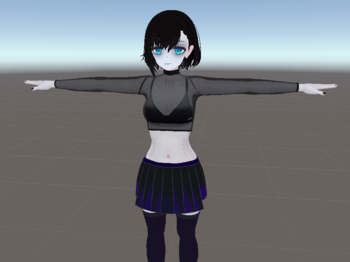
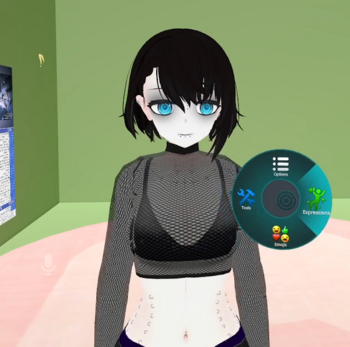
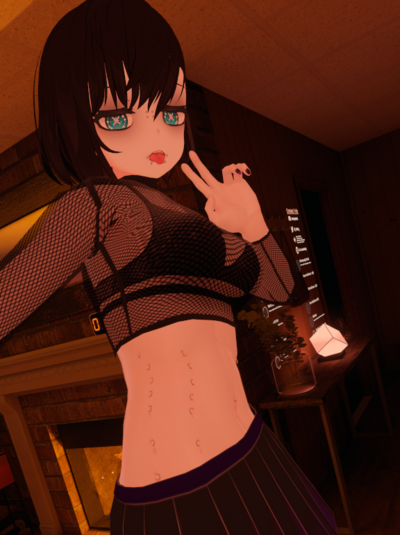
‘Anchor Override’ : This sets where the mesh takes lighting amounts from; if these are not set the meshes will be lit differently. This can produce an effect similar to that shown in the image on the left.
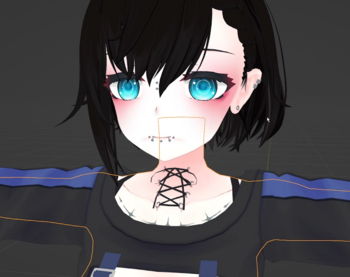
‘Bounding Box' : this should be set to prevent mesh despawning around the edge of people's vision; especially when they're close.
LINK: https://files.catbox.moe/hog2ce.mp4 https://dai.ly/k63hAS0wWHFpAOzuexM
Upload to VRC
Here I upload to VRC. I also show using a image from VRC as the image for the avatar; recommended for well made avatar images for little effort.
LINK: https://files.catbox.moe/2q6zf3.mp4 https://dai.ly/k4efdrn2XSA6Phzueyx
Done!
Enjoy!*
* There's bound to be some scuff to fix but chances are it's at least okay to use
Funny ERP Bits
ERP is a major part of VRC activity for some people and people always ask how to add the funny vertex shader and such. I've decided to branch this out into a seperate article:
Iterating and fixing scuff
It is inevitable that you will try the avatar in VRC and notice that stuff is broken; stuff you have to go all the way back to blender for. This section shows a couple scuff fix iterations and a workflow that makes it less painful; as you can rely on tools to keep your workload low. This process will happen a lot; and for the Glaze in this tutorial there's going to be a bunch of unrecorded scuff fixes but the process is the same.
Pumkins tools, presets, and fbx overwrite
Below I show a workflow for iterating. I notice I have some scuff on my avatar so I go back to blender and fix the stray weighting. Making a new copy I show off how to use a unity preset to reduce time spent importing a new version of your fbx
- New FBX: Most suitable for larger changes such as a new hat or something. If the humanoid armature hasn't changed (IE; arms, legs, head etc, if they've been moved or changed in blender it causes problems with presets)
- Sneaky Overwrite: Where you go into the project (in the file system!) and overwrite it under unity's nose. Best used for minor touchups. Trust me versioning is useful for anything more than a quick fix, even if it results in your project getting abit littered. They work as backups just in case you make things worse (I do this still.)
- Not going back to blender: For unity problems you won't need to iterate at all, but working on a copy of your scene object will help in case you fuck things up. Keep a known good of your avatar in your scene at all times.
- EDITORS NOTE: I say you should click 'copy' in pumkins tools multiple times, this is incorrect as it can cause issues with unpacked avatars.
LINK: https://files.catbox.moe/0jp7cv.mp4 https://dai.ly/k5h4341PQuPaBKzuezb
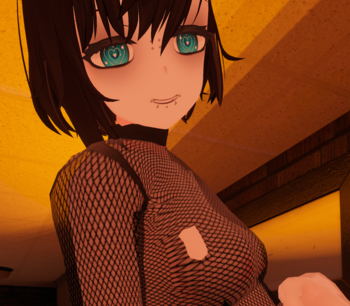 --> After
Uploading Premade Package (Gothglaze example)
I can't release the package on this wiki but if you do happen to find it floating around somewhere here's a video on how to get it ready for VRC. This kind of process will also work with prefabs from Booth; but keep in mind that 95% of booth prefabs perform like absolute dogshit and don't have erp bits. It's best to do some work on them.
General process:
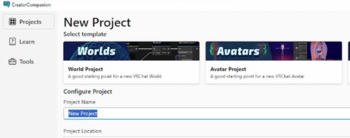
- Create a blank project in the VCC https://vcc.docs.vrchat.com/guides/getting-started/
- Select packages you want (VRCFury needs to be added in settings Settings > Packages > Add Repository, type https://vcc.vrcfury.com and click Add )
- Create avatar project
- Import packages that the avatar needs; also some useful tools that I recommend: Liltoon, combo gesture expressions, lightbox, pumkins
- Import the avatar
- Test
- Upload
