Booth Optimization example
Example A: Working from booth
Make an optimised version of your booth for meets, please. It is not impossible, I don't care what you say; this article literally will show me doing it.
Note that this is focused on making a specific 'optimised version', you will lose functionality. Keep the functionality for smaller meets.
Starting out
Starting out you'll either have a unitypackage full of crap or some FBXes and textures. Ideally you have both. But either way:
1. Pull out the FBXes and textures from the pack and load them into blender.
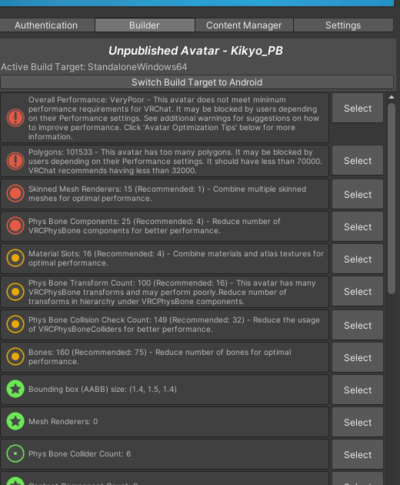
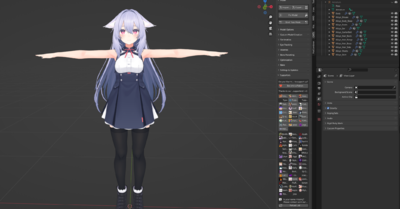
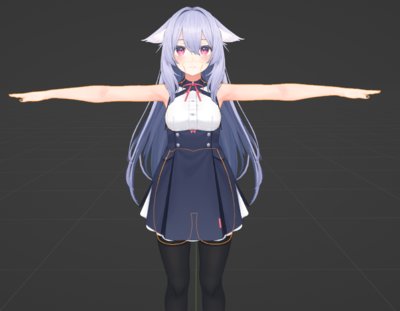
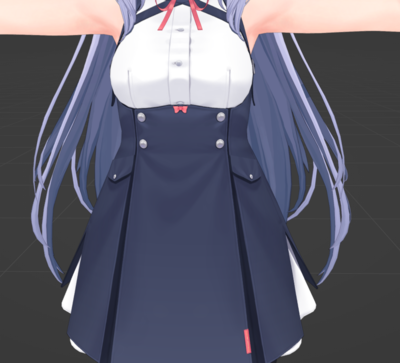
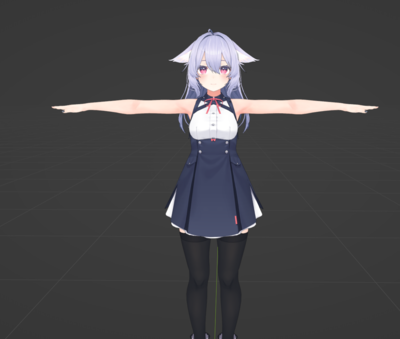
Looking at the using the prefabs, you can see that the default booth is quite a bit on the heavy side:
Cutting the polygons down will be a blender thing.
Strategies
General strategies for reducing mesh: Deletion, decimation.
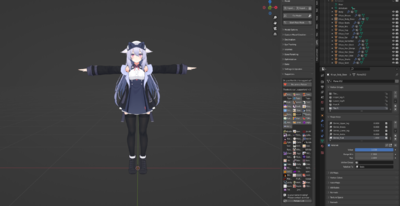
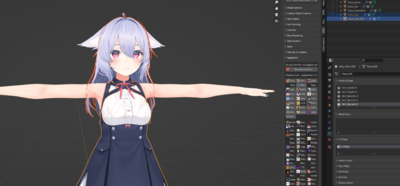
Looking at it in blender there's 100k tris (bottom right) and a load of meshes. VRC does not like rendering this.
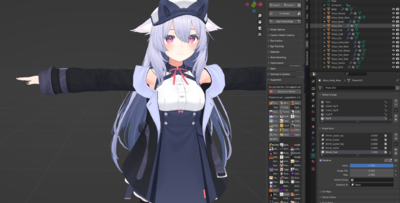
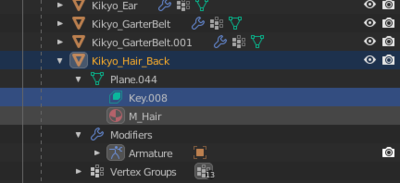
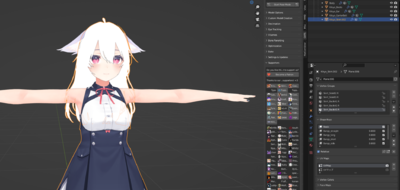
Immediately a few things should pop up: Hair is FOUR meshes for some reason, there's a load of clothing, and there's some other shit going on.
Quick Wins
The quickest of wins: Deleting mesh objects that aren't even visible. What I did is I toggled the meshes on and off until I found stuff that isn't even visible. The Bra, isn't visible under the clothing. So... Just delete it.
Next easy wins are pieces of mesh that I don't quite need to be on all the time. Like the hat, the coat. Pretty easy to take off.
And we're down to 83k and nothing has even changed.
Cutting down with some tougher deletions
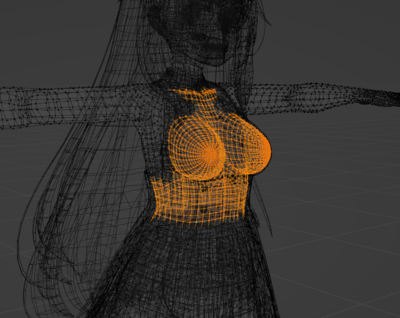
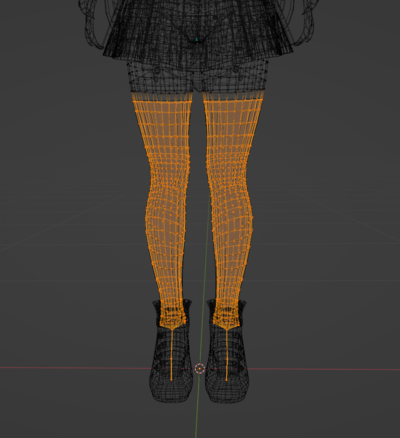
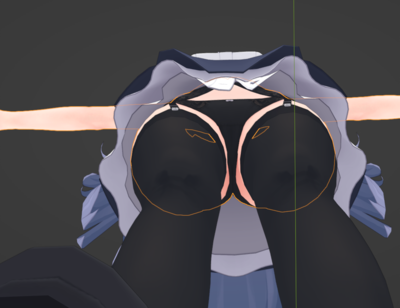
Next is to remove mesh that isn't visible but from meshes rather than entire objects. The most obvious here is the body; you don't need the boob mesh if your shirt is always on, and you don't need feet mesh if your shoes are always on. (Sorry footfags).
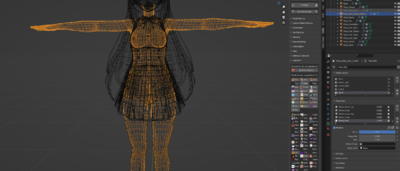
Select the undermesh and then go into wireframe mode, switching between edit and object mode getting a feel for how things change visibility. For selection and deletion stick to edit mode though:
Then select mesh that is not visible when the clothing is on. Then delete. Use ctrl-shift-m and extend to help keepit mirrored; and after deletion double check there's no skin mesh you actually wanted to keep.
All the overlapping and layered mesh is a complete waste when you're making a special optimised version of your avatar.
With all that we are literally under 75k tris already. You could even take this into VRC for the handsome "Poor" rating, which still puts you above a lot of people. But we need to go even further beyond... Mainly in case doing all this shit wasn't enough.
Decimation; to go even further beyond
If that wasn't enough; it's time to start affecting the polygon structure of mesh. This is a destructive process and should be used. However, it can be used to great effect to save polygons with very little loss of important detail.
You start by looking around the avatar and looking for candidates; good candidates are small things with way too many polies, stuff not affected by bone chains or shapekeys.
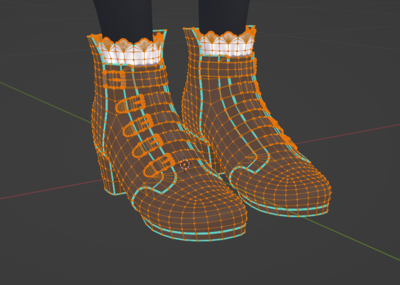
The shoes. I'm not a shoefag but the toplogy is nice. I'm about to ruin it, because 13k tris for the shoes alone is fucking ridiculous. If you ARE a footfag you could consider just deleting the shoes previously and then not deleting the feet. Barefoot has some kind of appeal to it for some people I would imagine. If you go into edit mode and select the mesh you can see the tri count of it in the bottom right.
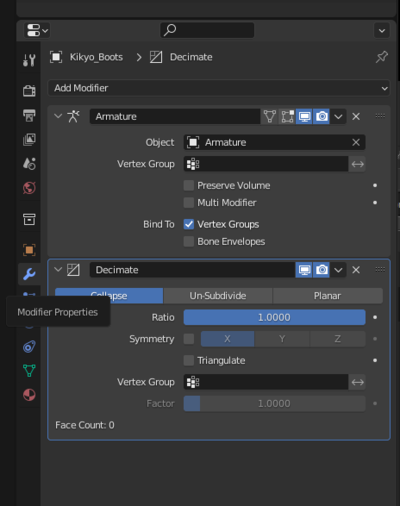
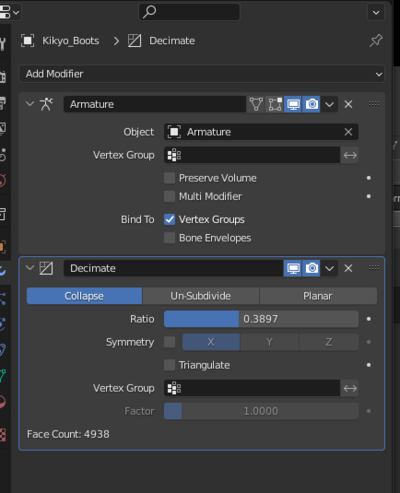
All the shoes are already a separate mesh object, so I go into object mode, select the spanner and add a decimate modifier. Then I wiggled the ratio until they were cut down but not horribly scuffed; you can check the tri count as you do it.
I applied this:
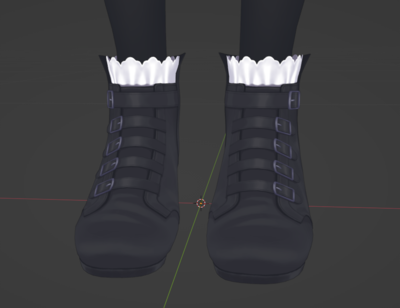
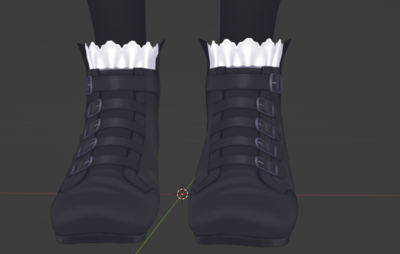
And there's before and after (left and right). Notice how you can barely fucking tell.
Shapekey sidenote
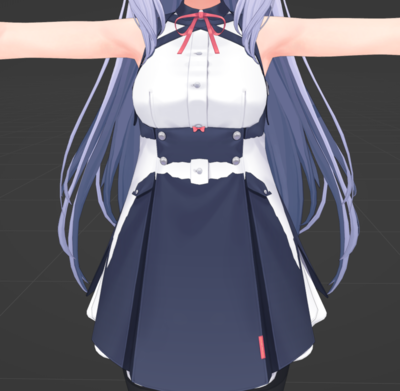
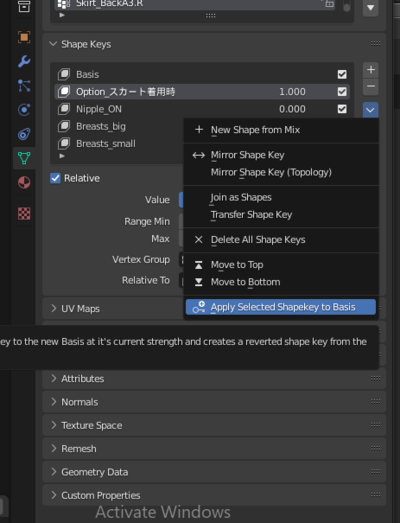
When looking at the blouse I noticed that it actually uses a shapekey to sit under the skirt. In this case it's for some coomer thing where you just wear the shirt (really cute) but we don't need that on an optimised version. Performance wise, it's best to not be using shapekeys if at all possible; so it's best to apply the setting you want as basis so that the shapekey doesn't need to be active.
Apply that shit to basis so you can forget about it:
More Decimation
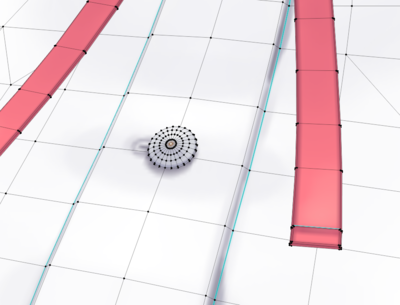
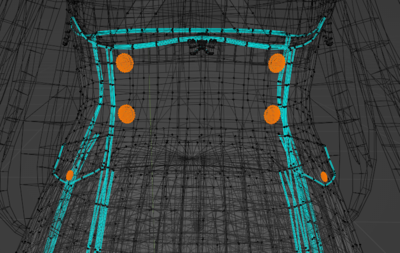
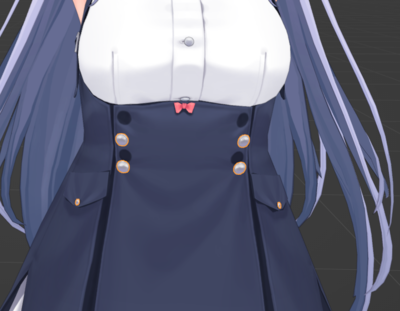
Anyway looking at the shirt, look at these little shits, you don't need this many polygons for buttons. Now they're attache to the shirt currently so to decimate them you select the button mesh (ctrl-l helps a lot here) and then hit p to seperate them out. There are loads of buttons on this thing:
These buttons are like 9k polies by themselves dude:
Now you want to seperate them out and decimate them but they have shapekeys. The shapekeys are for BOOBS. Now here you can make a choice; do you want to keep the boob slider or are you find having your boobs stay the same size? To decimate you need to delete shapekeys. Typically the answer is I just want one boob size. So find that boob size, and apply those shapekeys to basis. Then come back and decimate.
So do the usual; split it out, then to delete the shapekeys you can either mash - on the shapekey list or delete the entire information:
Then separate out the thing and decimate.
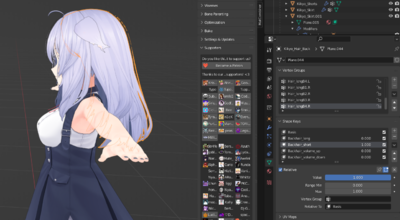
Now for the hair; a similar thing was done. I edited the shapekeys until they looked like the hair I wanted, then I applied them as basis and decimated.
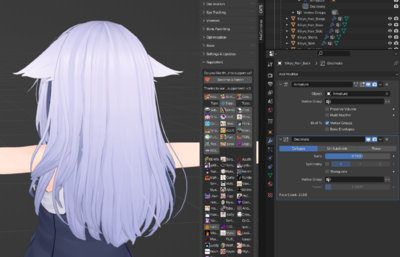
while decimating the backhair I noticed that decimating it scuffed it a little. Definitely avoid decimating anything that people will be looking at, like front and side hair. Back hair is more fair game. Avoid near the face for sure. Also avoid fingers, and generally any base body mesh, decimating that stuff is asking for trouble.
Also avoided was the main skirt mesh; with all the bones and shit.
I repeated the decimation on anywhere that looked kinda high poly: Buttons, garterbelt clips, bow ties, and so on. I avoided smooth areas like panties and base body since you decimate that and you'll get clipping issues. I also deleted some extra layered mesh on the clothing, stuff not seeable.
After poly count reduction
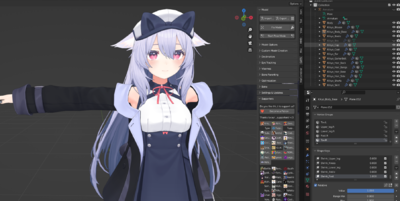
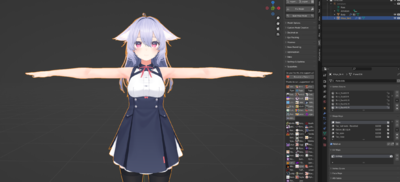
After all that, what do we get? We're down to 56k polygons. And it looks FINE.
Merging Meshes
After all that I had like 20 meshes because I separated out a whole bunch for decimation. Clearly too many. Obvious wins here are just merging them! Select the mesh objects and hit ctrl-j to merge them.
Merge the clothing and the hair and the body but do not merge the face. I said do NOT merge the face. Keep 2 meshes. When I did this I got this problem:
Basically you merge and part of the mesh has the texture all fucked up. This is because it slapped the UVs together and if they're named differently then one of the UVs isn't actually applied properly. Just go through each separate mesh, rename the UVs to the same name (UVMap is the best name to use) in the upside-down green triangle (object data properties) UV map tab. THEN try and merge them again.
The only consideration with merging meshes really is toggles. You'll bot be able to toggle off your shoes or the shirt with this; but who cares you deleted the shit underneath anyway.
Considering Materials
On this model there are 6 materials. The face has two mateirals; a normal and a tranparent one for the blush and shit. These should be kept seperate since you'll want to keep transparent effects. They can be merged but it's some effort since you need to use transparency masks and shit and it messes with render queues... it's fine to leave them seperate.
The rest has 4; there's a transparent one and a normal one for the hair; same applies as above. Then you got clothing and body... It's posisble to merge all these but with 6 total there's no real pressing need to. However, as an example I manually merged the clothing and the non transparent hair material.
EZ merge
You CAN bake the textures but that's a kinda retarded way since you're actually using blender's rendering pipeline simply to paint textures on your UV. reserve that for other texture work. It's also a fuckin g pain.
[TODO: finish this]
Deleting unused bones
With some mesh deleted there's some bones that don't do anything any more. Delete them.
[Todo: insdert image and finish] ~
