Funny ERP Bits
This page is an offshoot from general avatar creation at Avatar_Hypertutorial. It is a much more NSFW area containing ERP addons to avatars. This knowledge is in demand for some reason.
NOTE ON VIDEOS: they don't work in browser, pls download. Can't upload to dailymotion because nsfw.
Nude Toggles
Naked toggles are pretty easy as it's a standard toggle that is covered in the previous. However, erp has some specific things that are often added to avatars for.
Look up how to do toggles in the Toggles section on Avatar_Hypertutorial. The ANY toggle is what I use most for outfit changes, it's easy enough to understand and use.
DPS / TPS / SPS general coom tech
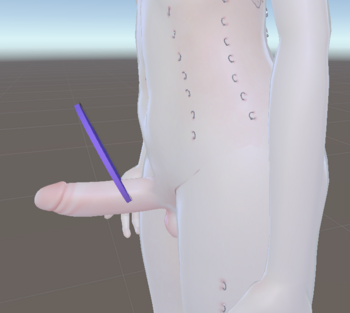
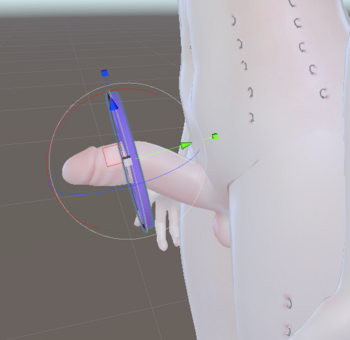
DPS, TPS and SPS are cross compatible penetrator in hole technology on the shader itself where the inserting object homes in on orifices for more immersive sexo. DPS is the oldest, TPS is something that comes with Poiyomi shader, and SPS is a fairly new system that gets applied at runtime which does the same thing but theoretically works on any existing shader.
SPS has way more features and is easier to setup so I will be using SPS for the tutorial. A DPS guide may get created but I'm an SPS convert.
For SPS you will need VRCFury : In the VCC, go to Settings > Packages > Add Repository, type https://vcc.vrcfury.com and click Add
Penetrator Systems (PS) all work in the same way: Dicks are marked as penetrators or plugs, and holes are orifices or sockets. Dick goes into hole.
Orifices
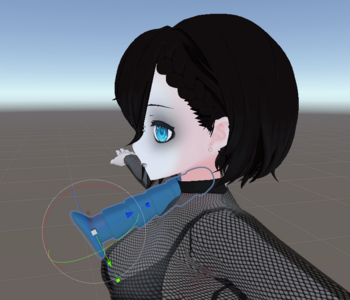
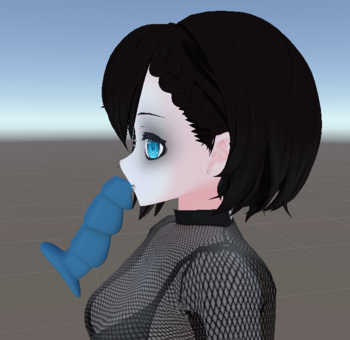
Orifices for recieving penetrators are easy to add. Choose type of orifice you want, move orifice icon into place, line up insertion arrow with where you want, and make a toggle. RING orifices have the penetrator move through the point, and you want those on hands and external parts. HOLES disappear the penetrator shortly after they enter the point, and are more useful for internal parts where you want the penetrator to be buried as deep as you want.
In the video below I add a vagina, paizuri, right hand, and mouth orifice. Tweaking needed for some of them (the pinch point is right at the centre of the circle so you want that slightly inside your mesh in most cases to hide it). I do something special with the mouth orifice that should be paid attention to and toggles are handled by vrcfury (but you can do them manually if you want).
Video: h264: https://files.catbox.moe/axn1y0.mp4 h265: https://files.catbox.moe/7wgfm0.mp4
Note: VRC has added a feature where you can tag bones as non-shrinkable so you no longer need to do the constraint crap for mouth orifice problems
OSC Goes Brr
OSC goes Brr is a tool that links your avatar to a sex toy (usually a lovense). It vibrates according to in-game actions.
It does this in two ways:
- When operated with an SPS orifice and an SPS penetrator; it will vibrate if a penetrator is inside an orifice on your avatar, and will vibrate more when the penetrator is deeper. The implications should be obvious.
- It creates a touch zone inside your avatar so when people put hands inside this zone, the toy goes off (depending on how close they are to the centre of the zone.).
Tl;dr:
- add SPS to both top and bottom. (just like in this tutorial)
- install and run intiface, and then link your toy (Use a bluetooth dongle with a antennae for best results; the lovense dongle sucks ass): https://intiface.com/central/
- Run OSC goes brr https://osc.toys/download
- "It just works"!
Penetrators
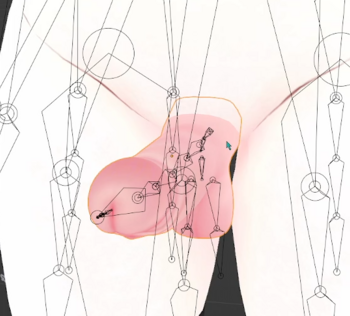
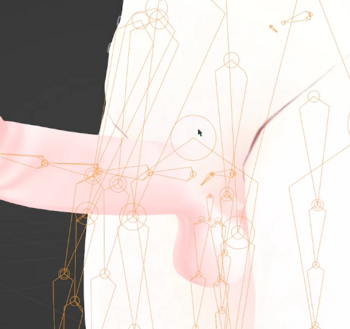
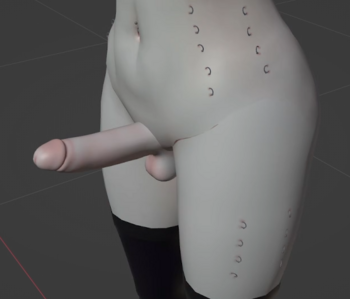
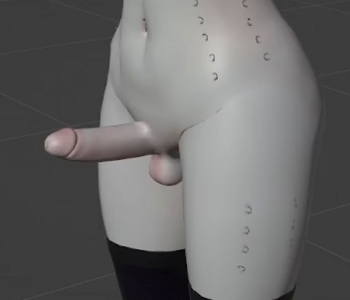
Penetrators are much more work. If you have a prefab you might be able to skip some of these steps but here we will do cock attachment with basically a 'from scratch' attitude without using prefabs. Matching and attaching are done here; and I recommend attaching and getting a feel for where on the model the cock looks good before doing the advanced matching.
First find a cock. Ask around but I'm using https://humiliationvr.gumroad.com/l/humi-dick . Bad news is I'll be stripping 90% of the features - as this allows the tutorial to work with basically any cock-object rather than this specific one. Keeping features probably easier since you can just use the prefab; but this is a tutorial not a 'use the prefab'-orial. I'll basically just be pulling out the mesh and textures. (That said you could totally backport stuff you make into the prefab)
The 'wholesome lollipop' prefab comes with a number of matching tools to automate much of this; but if you aren't using that or it doesn't work for you; here's manual methods.
Before you match
Make sure the position and size are to your liking. I recommend putting it on and giving it a feel in VR before doing any matching since this will allow you to make low-pain adjustments. Making adjustments to size/position after doing matching IS EXTREMELY PAINFUL AND SUCKS A LOT
Make sure your body skin texture is to your liking first too.
Colour Matching
Commonly asked but assuming you have a dick to work from; Blender and Photoshop are a good pair to match the body to the dick. (Note that if you have access to substance painter it would be preferable). In the video below I match the skin tones of the dick to the body, and then blend the body to the dick for a reasonably seamless looking texture. When in pure flat shading it looks pretty good.
Video: h264: https://files.catbox.moe/6s49ua.mp4 h265: https://files.catbox.moe/tumsle.mp4
See Color matching for both GIMP and Photoshop
Normals Matching
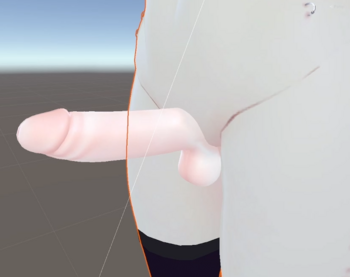
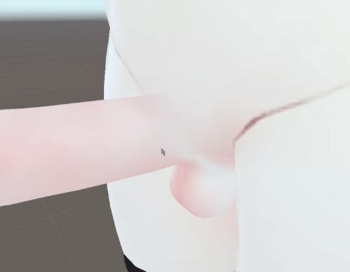
The images speak for themselves. Even with perfect color matching you will get seam problems when the mesh isn't a smooth curve to the body; matcaps make it obvious. Faces on mesh can pretend to be facing a different way for shading effects and by smoothing these 'normals' between the hard mesh cutoffs you can smooth out the angles in the mesh to make it look attached.. without actually attaching it.
Video: h264: https://files.catbox.moe/yf6079.mp4 h265: https://files.catbox.moe/7yp6m4.mp4
Material Cap Blending
It's all great until you add matcaps to body and dick and realize it adds a seam back. Using masks you can create a blend so that the seam vanishes yet again.
Basic idea is to apply two matcaps at once, and apply two masks that are inverse of each other so one area is one matcap and the other area is the other, and there's a blend in between.
Video: h264: https://files.catbox.moe/8ahfkr.mp4 h265: https://files.catbox.moe/kosvw2.mp4
Adding SPS
This is it. Now with SPS this is ridiculously easy, it barely needs a video.
To Prep:
- You need a dick. Attach a normal shader to it (like liltoon, poiyomi, etc) before you begin.
- If upgrading from DPS there's an upgrade function but you're better off just deleting all the DPS crap and generating fresh.
Things to note:
- You can add a seperate toggle for the SPS functionality so you can have a frotting ring on the end of your dick and have it actually work
- this should work with sockets with osc interactivity and animations and all that crazy fun stuff that people haven't explored much yet
- PP needs to be on the UNITY armature, usually the hips. ( a dildo would need to go on a hand for example) Unpack your prefab.
- NOTE: Interactions with Pumkins can be flakey when you attach the dick in blender. See notes below in iteration problems for details. However; the reason I attach in blender is because the matching was done in blender and moving stuff around in the unity editor makes me want to die.
Video: h264: https://files.catbox.moe/7rvgih.mp4
Common Problems
- Not setting anchor override for the mesh
- Not setting the mesh to be a child of the hips (or other bone)
Iteration Problems
Pumkins tools can't copy the "VRCFury component" properly and Pumkins will also not understand if you've moved a mesh inside the scene object. If you've attached a PP in blender, then moved it to the unity armature to make it work with SPS (like above) and are doing iterations you'll need to do the following:
- Fresh import FBX, apply preset to the import
- Use Pumkins tools to copy over everything
- Move the 'blender attached' PP to the Hips like in the above PP guide, then move the Haptic Plug component from the 'phantom copy' to the blender pp.
- Fix the material, anchor for the blender pp
- For VRCfury toggles, copy the component from the old version
The issue with components mostly affects multiple VRC Components at the same level of the hierarchy because Pumkins will attempt to merge the objects, and since VRCFury's sockets do not support offsets, they break doing this.
It's a bit lengthy and eats into the advantages of using VRCFury and Pumkins tools but I had a problem with SPS/VRCFury and Pumkins and it took me ages to debug.
Bonus coom tech
This section is just extra things that you may want to implement.
Lollipop
This allows lips to move backwards and forwards when eating lollipops or other phallic objects.
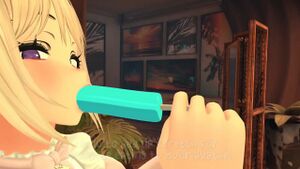
Source: https://fxtwitter.com/i/status/1791608136006070760
Credit: Fungal
Backup Video: https://files.catbox.moe/i6e180.mp4
