Avatar Hypertutorial
This page will link and describe an entire process of turning a booth avatar into a customised, fully kitted, and highly functional avatar.
What you will need:
- Blender + CATS
- Better FBX importer recommended
- Unity Hub
- VRChat Creator Companion
<todo: Setup>
Finding a Booth
First, find a booth you want. There's plenty of choice:
- Go to Avatar Museum
- Ask around
- browse sites liek https://avatar-network.herokuapp.com/avatars/
- "site: booth.pm <booth name>" in google
For this tutorial I had the following goal: Goth GF.
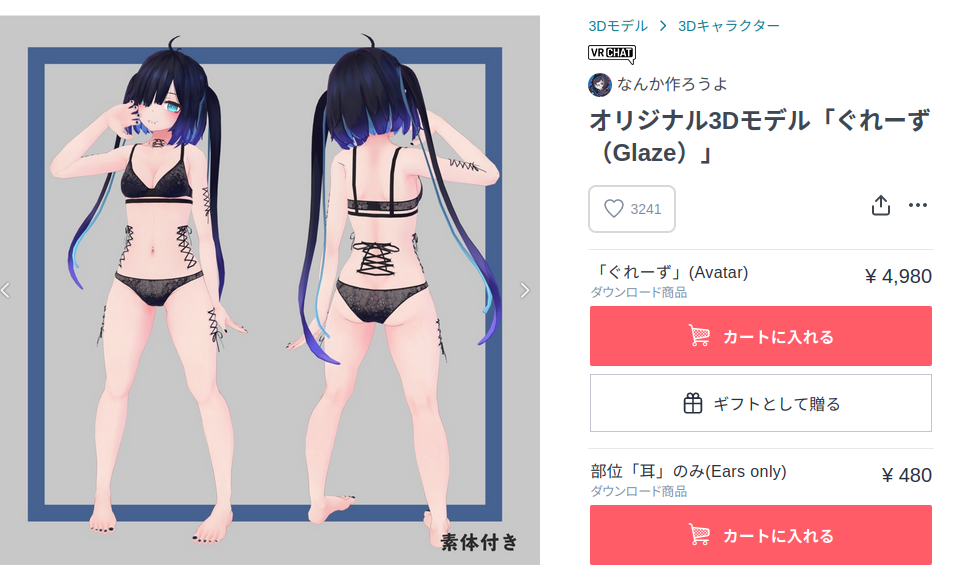
I chose 'Glaze': https://booth.pm/ja/items/2040115
Piercings, kinda close style. Will do some modifications to get it to goth mode.
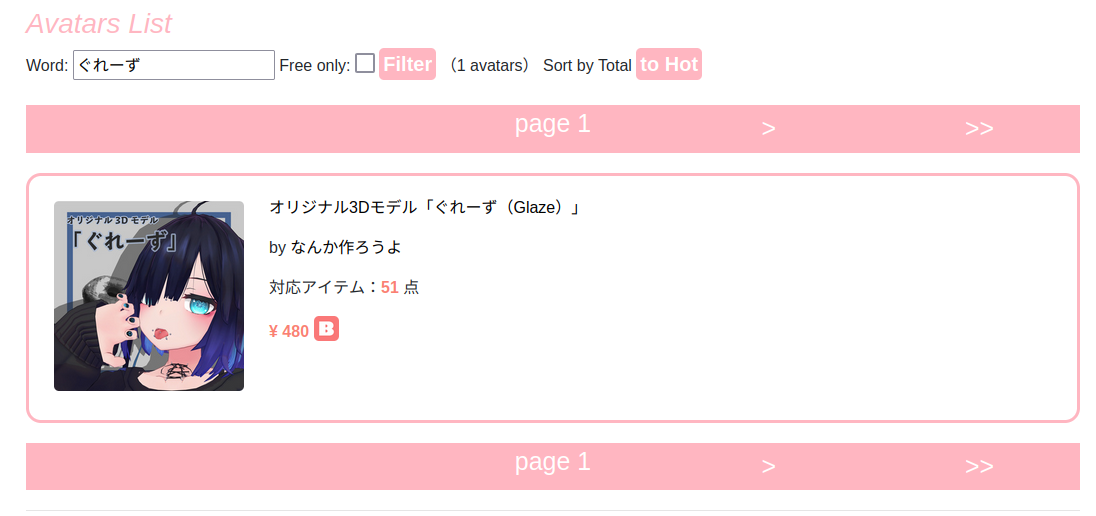
Then check what outfits are available with https://avatar-network.herokuapp.com/avatars/?word=glaze
No outfits. Great.
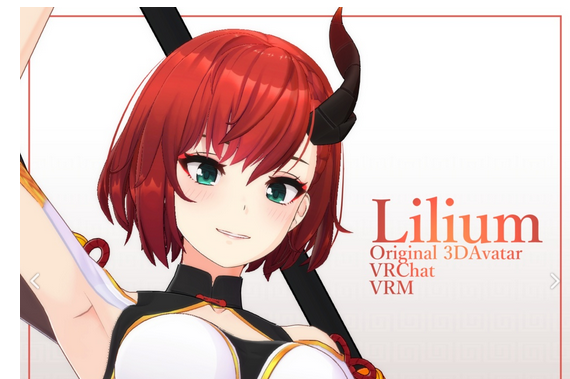
Primary modification recommended is a hairswap. Changes the profile of the booth a lot, unless it has a very distinctive face (which the glaze does but whatever)
I chose lilium hair:
Loading up and starting
First, prep blender. Install (latest is fine), then install development version of CATS
<todo how to do this but tl;dr download development zip, Edit-> Preferences -> load addon. Same with better fbx importer but this is usually options.>
extracting the glaze I got this:
- FBX: Contains the files to import into blender: Mesh data.
- PNG: Pre-exported textures and matcaps and such
- PSD: Photoshop projects that are layered versions of textures. If you don't have PSDs, choose another booth.
- UnityPackage. This is a prepack that can be loaded into unity directly. Contains lots of the animations, materials, and basically everything preconfigured. If you want to do no customisation at all; you can load this into unity directly and skip to the unity parts of the tutorial.
- VRM: A VRM is another prepackaged format 'avatar package' that's a more common open standard. Cool to see but rare.
- Some PDFs: I didn't even open these.
This is where the videos start. The following shows how to load an fbx into blender, and prep it for starting:
- Load FBX into Blender
- Fix materials for viewing
- Check out the model: Textures, shapekeys, weighting.
The below video walks you through (my) process of loading an fbx into blender. I first fix the textures on the materials so it looks reasonable, then I check the weighting by wiggling bones, then check the shapekeys to see what I'm working with, then I check the UV map. The goal here is to get a feel for what is on the booth, how the meshes are split, and so on.
[[1]]


