Avatar Hypertutorial
This page will link and describe an entire process of turning a booth avatar into a customised, fully kitted, and highly functional avatar.
What you will need:
- Blender + CATS
- Better FBX importer recommended
- Unity Hub
- VRChat Creator Companion
<todo: Setup>
Finding a Booth
First, find a booth you want. There's plenty of choice:
- Go to Avatar Museum
- Ask around
- browse sites liek https://avatar-network.herokuapp.com/avatars/
- "site: booth.pm <booth name>" in google
For this tutorial I had the following goal: Goth GF.
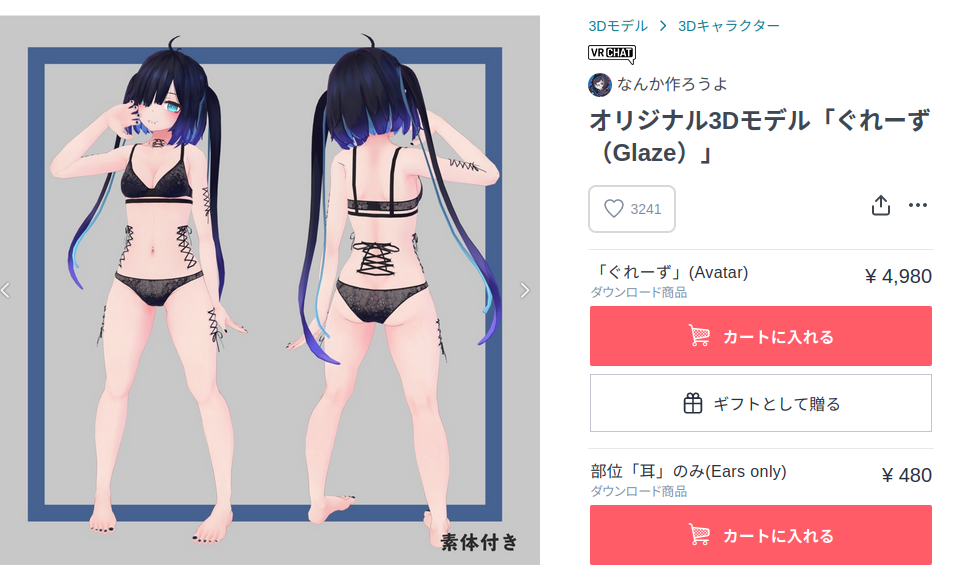
I chose 'Glaze': https://booth.pm/ja/items/2040115
Piercings, kinda close style. Will do some modifications to get it to goth mode.
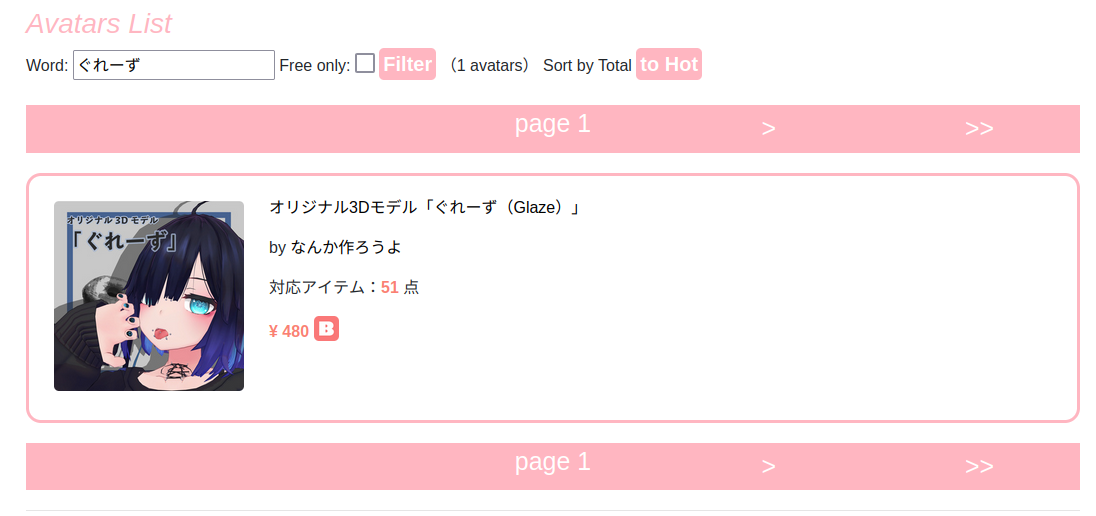
Then check what outfits are available with https://avatar-network.herokuapp.com/avatars/?word=glaze
No outfits. Great.
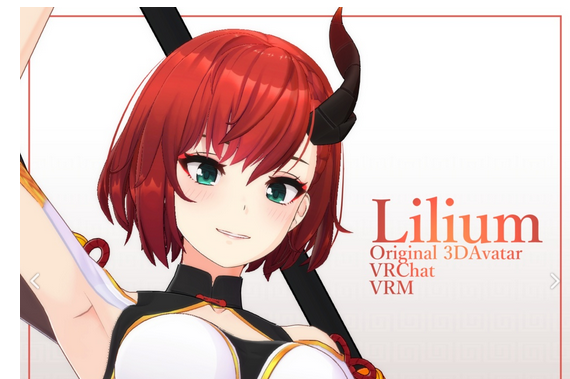
Primary modification recommended is a hairswap. Changes the profile of the booth a lot, unless it has a very distinctive face (which the glaze does but whatever)
I chose lilium hair:
Loading up and starting
First, prep blender. Install (latest is fine), then install development version of CATS
<todo how to do this but tl;dr download development zip, Edit-> Preferences -> load addon. Same with better fbx importer but this is usually options.>
extracting the glaze I got this:
<image of extract>
- FBX: Contains the files to import into blender: Mesh data.
- PNG: Pre-exported textures and matcaps and such
- PSD: Photoshop projects that are layered versions of textures. If you don't have PSDs, choose another booth.
- UnityPackage. This is a prepack that can be loaded into unity directly. Contains lots of the animations, materials, and basically everything preconfigured. If you want to do no customisation at all; you can load this into unity directly and skip to the unity parts of the tutorial.
This is where the videos start. The following shows how to load an fbx into blender, and prep it for starting:
- Load FBX into Blender
- Fix materials for viewing
- Check out the model: Textures, shapekeys, weighting.
<insert link to video>


